记一次阿里云学生服务器白嫖
购买服务器 (白嫖)
首先,打开白嫖连接: https://promotion.aliyun.com/ntms/act/campus2018.html
购买一个服务器,云服务器EMC和轻量应用服务器都行,购买完成后进入管理界面
首先,打开白嫖连接: https://promotion.aliyun.com/ntms/act/campus2018.html
购买一个服务器,云服务器EMC和轻量应用服务器都行,购买完成后进入管理界面
从群里看见的
大概能拿200代金券
地址: https://developer.aliyun.com/certification?inviteCode=pifgful6xp346
选java高级测试
答案:
下面关于数组排序的说明哪项是错误的?
Comparator接口中提供有compare()方法实现数组的排序操作
使用Runtime类的gc()方法,可以释放垃圾内存
object类中的getclass()方法不能被覆写
synchronized关键字常用来为对象加锁,从而使得对对象的访问是排他的
serializable接口无法实现多线程子类定义
如果要实现多线程编程下面哪项描述是错误的?
多线程处理类可以继承Synchronized类,同时覆写run()方法如果要为对象回收做收尾操作,应该覆写objectt类中的finalize()方法
当执行“Math.round(-15.61)"程序后的计算结果是哪个?
-16
public string tostring()
不是object类所提供的线程操作方法
下列关于Date描述错误的一项
直接输出Date类对象就可以取得日期时间数据,但是取得的月数是从0开始计算的
In the default shadowsocks config file, the server ip is 127.0.0.1
#config file example
{
    "server":["::1", "127.0.0.1"],
    "mode":"tcp_and_udp",
    "server_port":PORT,
    "local_port":1080,
    "password":"password",
    "timeout":60,
    "method":"chacha20-ietf-poly1305"
}
However, 127.0.0.1 only allow the local connection, so you can't connect to the server from client.
Therefore, to fix this problem, you should change the ip 127.0.0.1 into 0.0.0.0
#config file example
{
    "server":["::1", "0.0.0.0"],
    "mode":"tcp_and_udp",
    "server_port":PORT,
    "local_port":1080,
    "password":"password",
    "timeout":60,
    "method":"chacha20-ietf-poly1305"
}
Restart the ss-server, you can now connect to your shadowsocks server successfully.
This method can only be used for learning purpose.
For you own TOEFL learning concern, be sure to use it correctly and wisely.
Do not use this method to cheat in the word test unless your landwave instructor allow you to do so.
I am not responsible for any of the abusing usage.

$(".textstyle6.StyleW10").each(function(index,e){$(this).val(allwords[index]._chineseWord)});
###Finally, press enter.

On May 23, 2019. I accidentally drop my MacBook, which looses the connection between the motherboard and hard drive. After I reconnect the SATA cable and restart my computer, I found that my laptop stuck after I enter the login password.
##First try:
In recovery mode, reset the password.
See instruction at:
https://www.macworld.co.uk/how-to/mac/forgotten-mac-password-3594395/
or https://support.apple.com/en-hk/HT202860
or https://jingyan.baidu.com/article/6f2f55a163030bb5b83e6c71.html
However, I failed.
##Second try:
I first try to set up a new user by using single user mode.
See instruction here: https://zhidao.baidu.com/question/528962469.html
However, after I set up the new user, I still got stuck when I try to login into the system.
##My solution
Since I have a Time Machine backup in January, I can recover my computer using Time Machine. However, I still need to backup some important information that is not in the Time machine. After doing some research, I successfully copy the important file from MacBook using single user mode.
###Copy file without login:
If your mac running a macos higher than El Capitan, you should first remove “System Integrity Protection” before entering the single user mode.
Reboot your mac and press command + R, go to the recovery mode.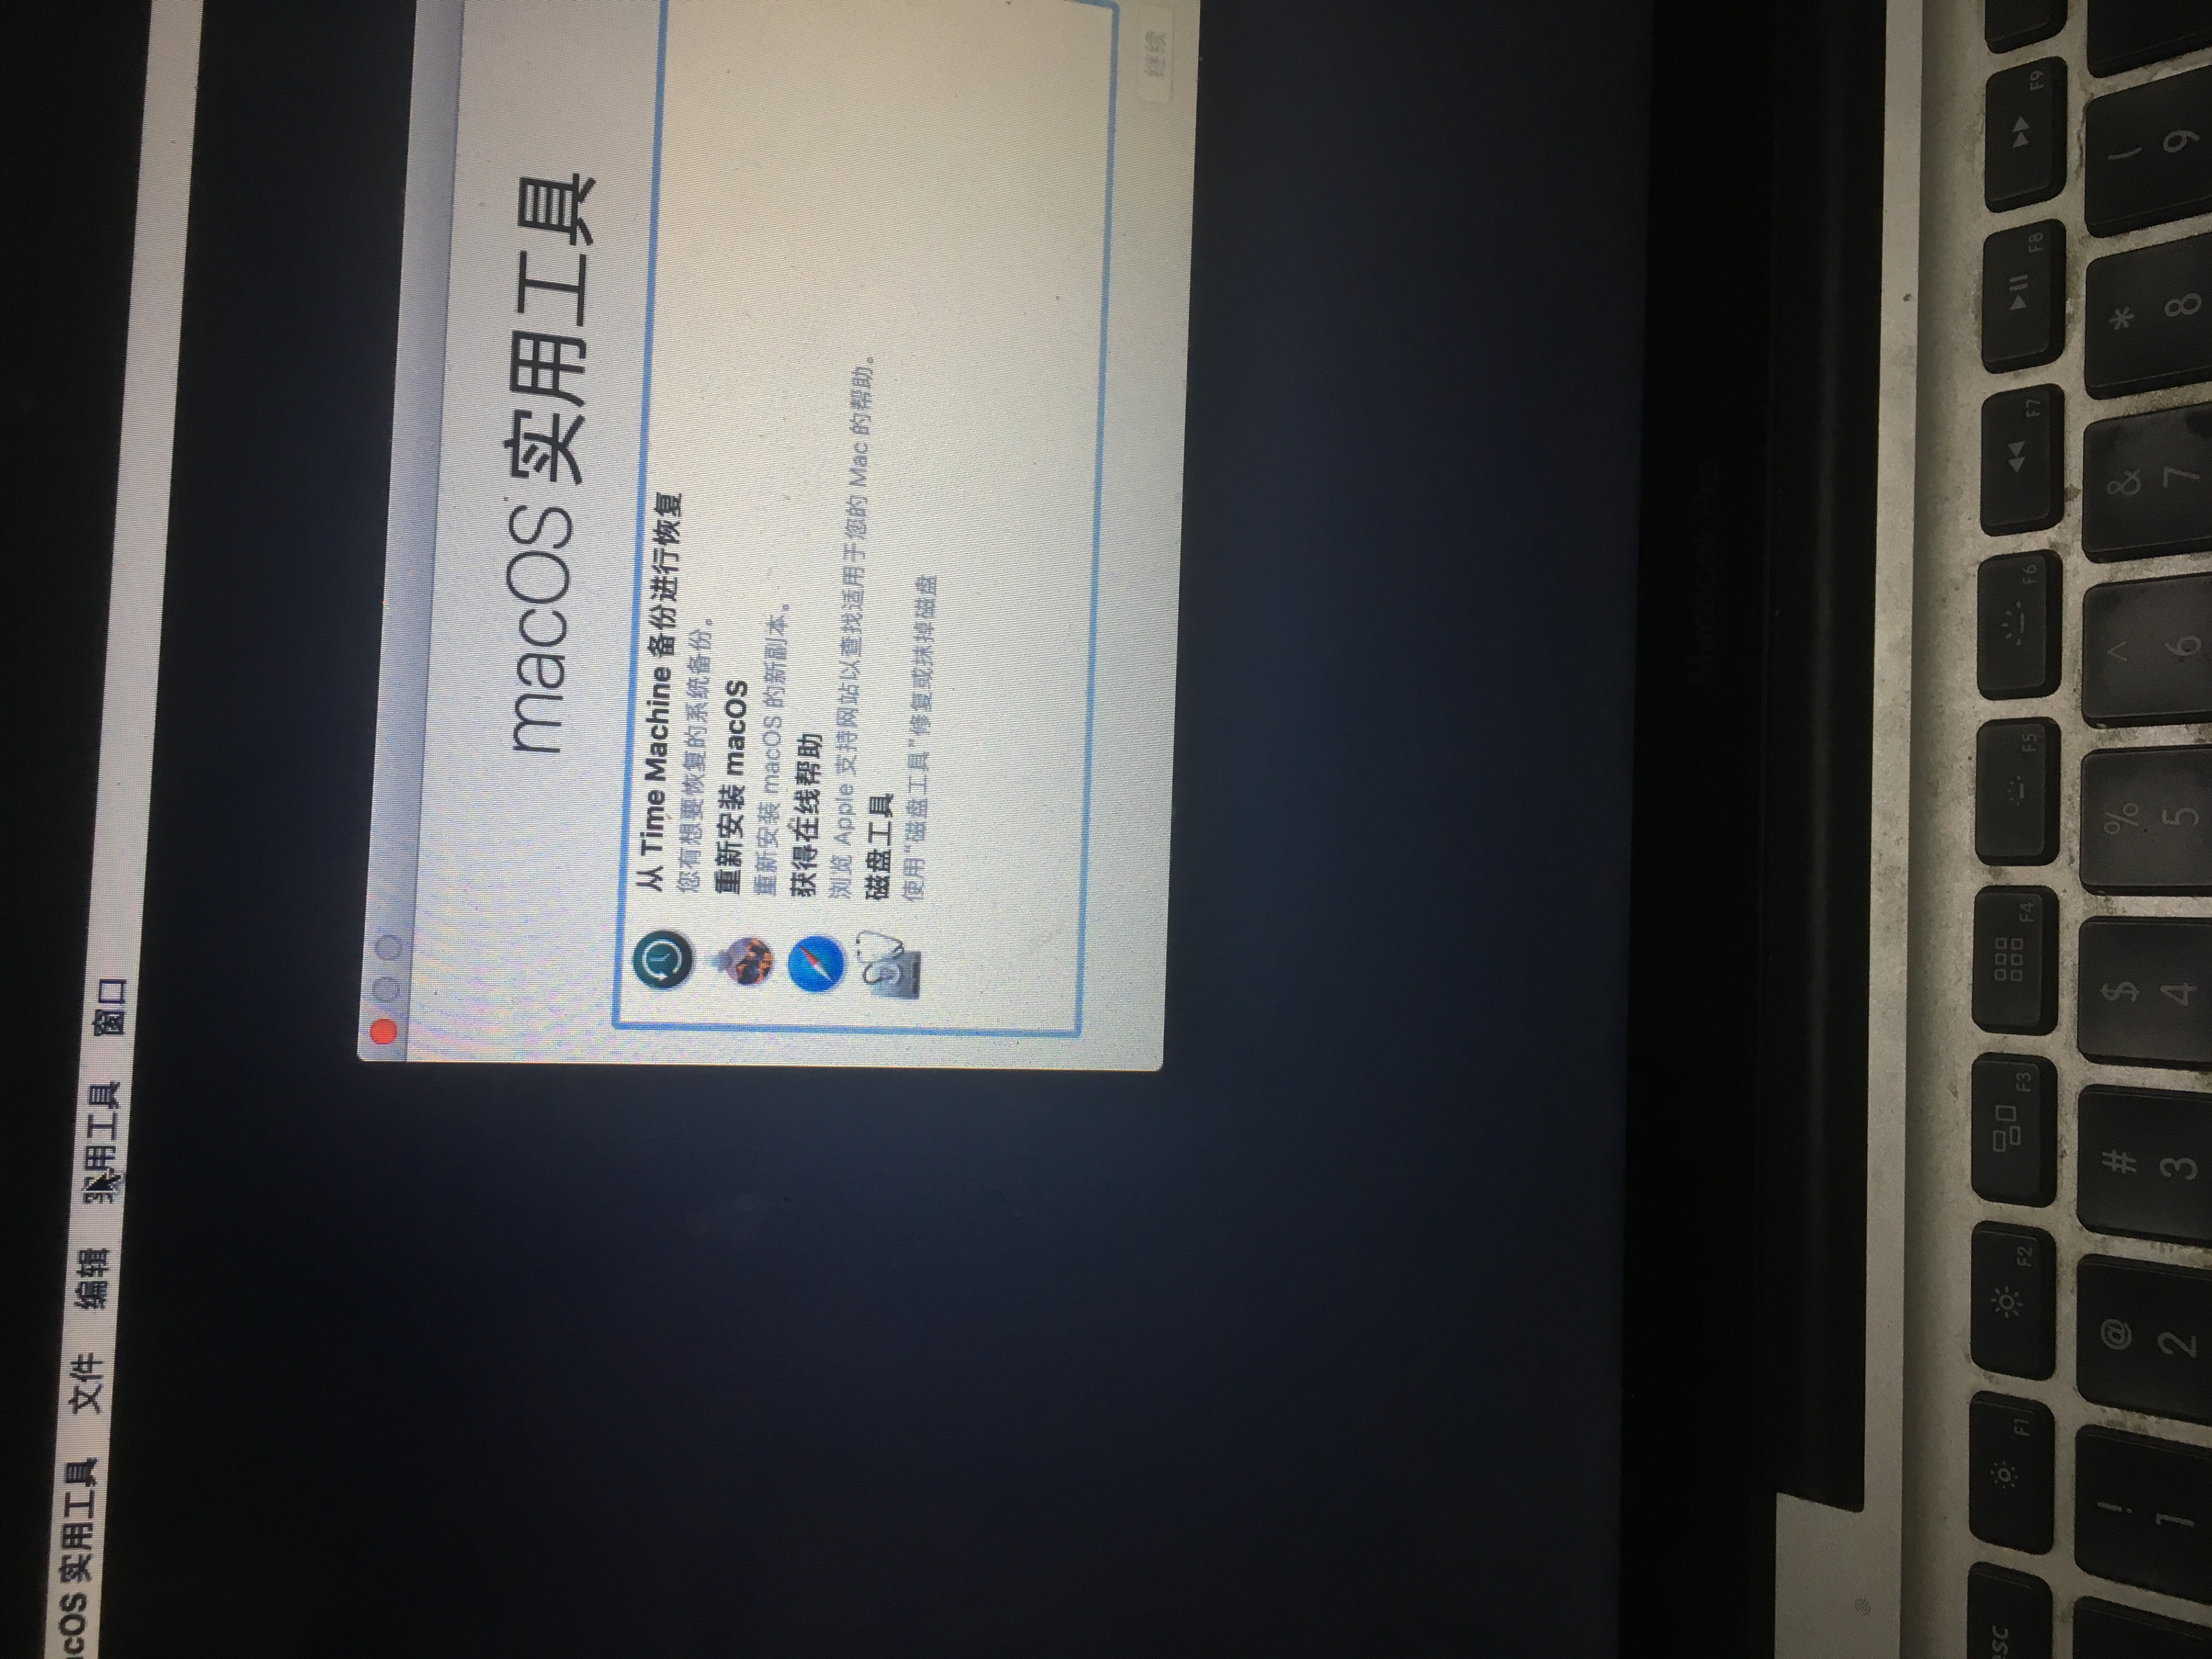
Click on the "Utilities" menu, and then click on "Terminal" to open terminal.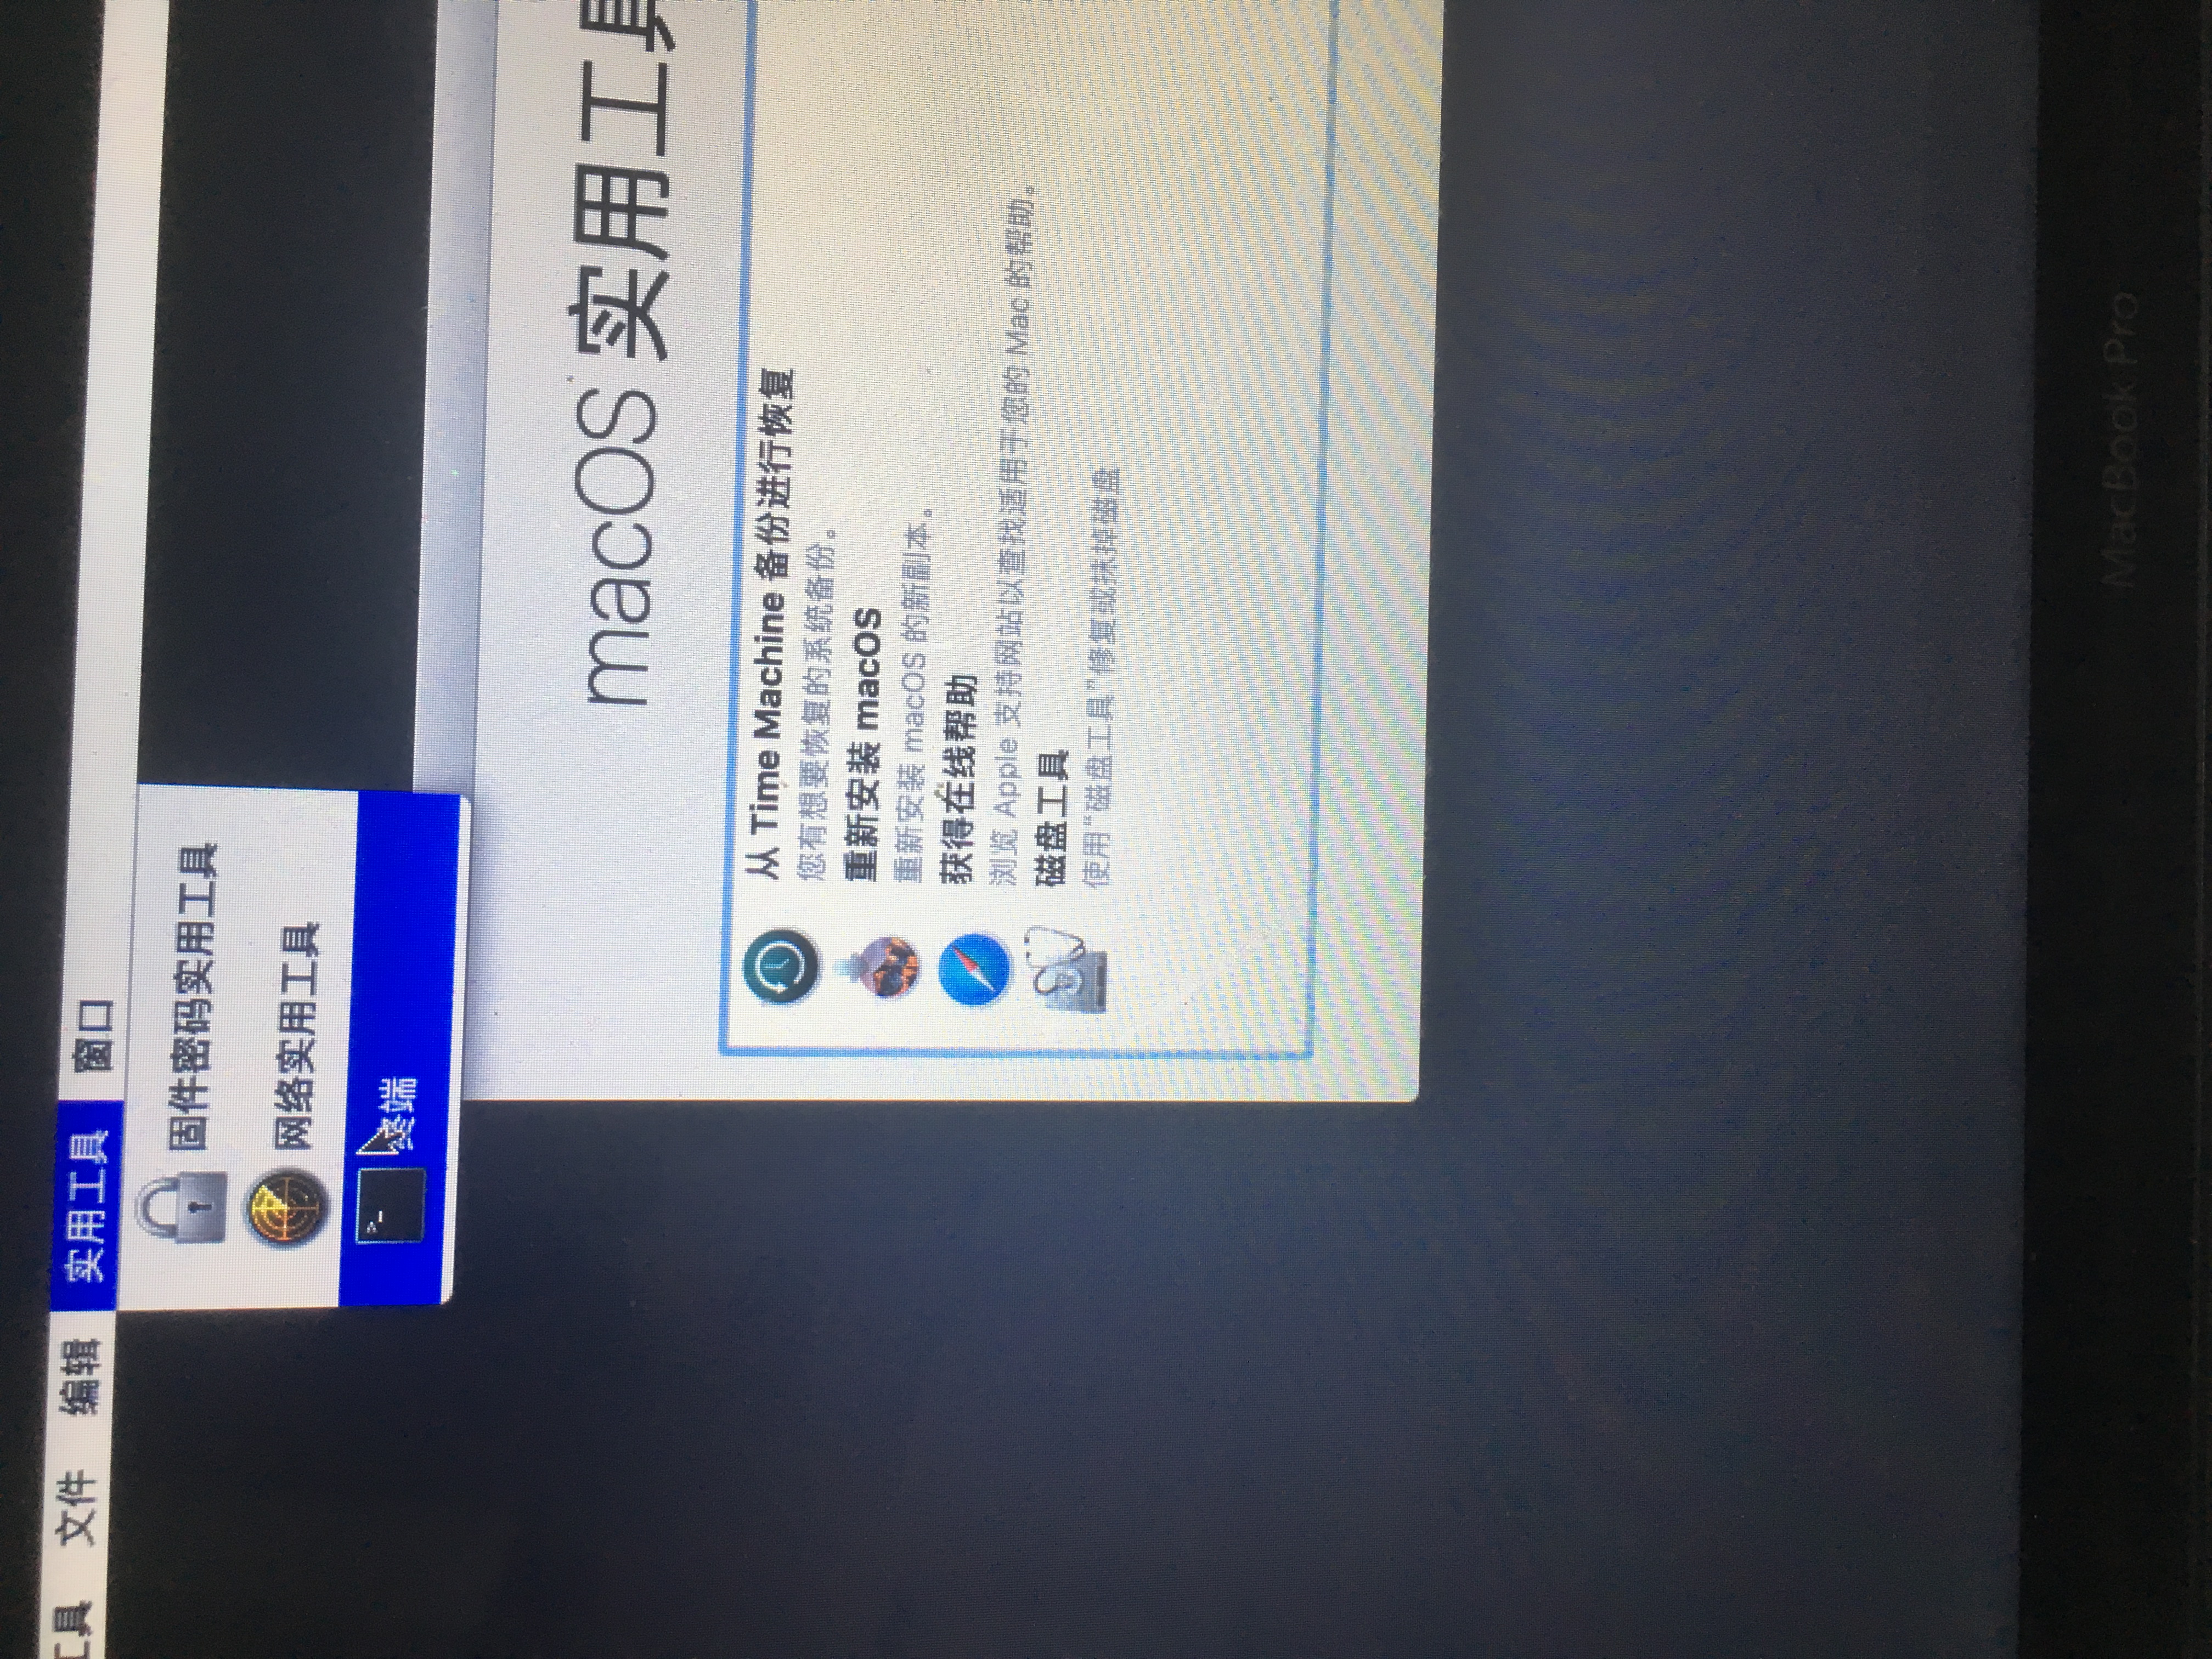
In the terminal type csrutil disable and enter.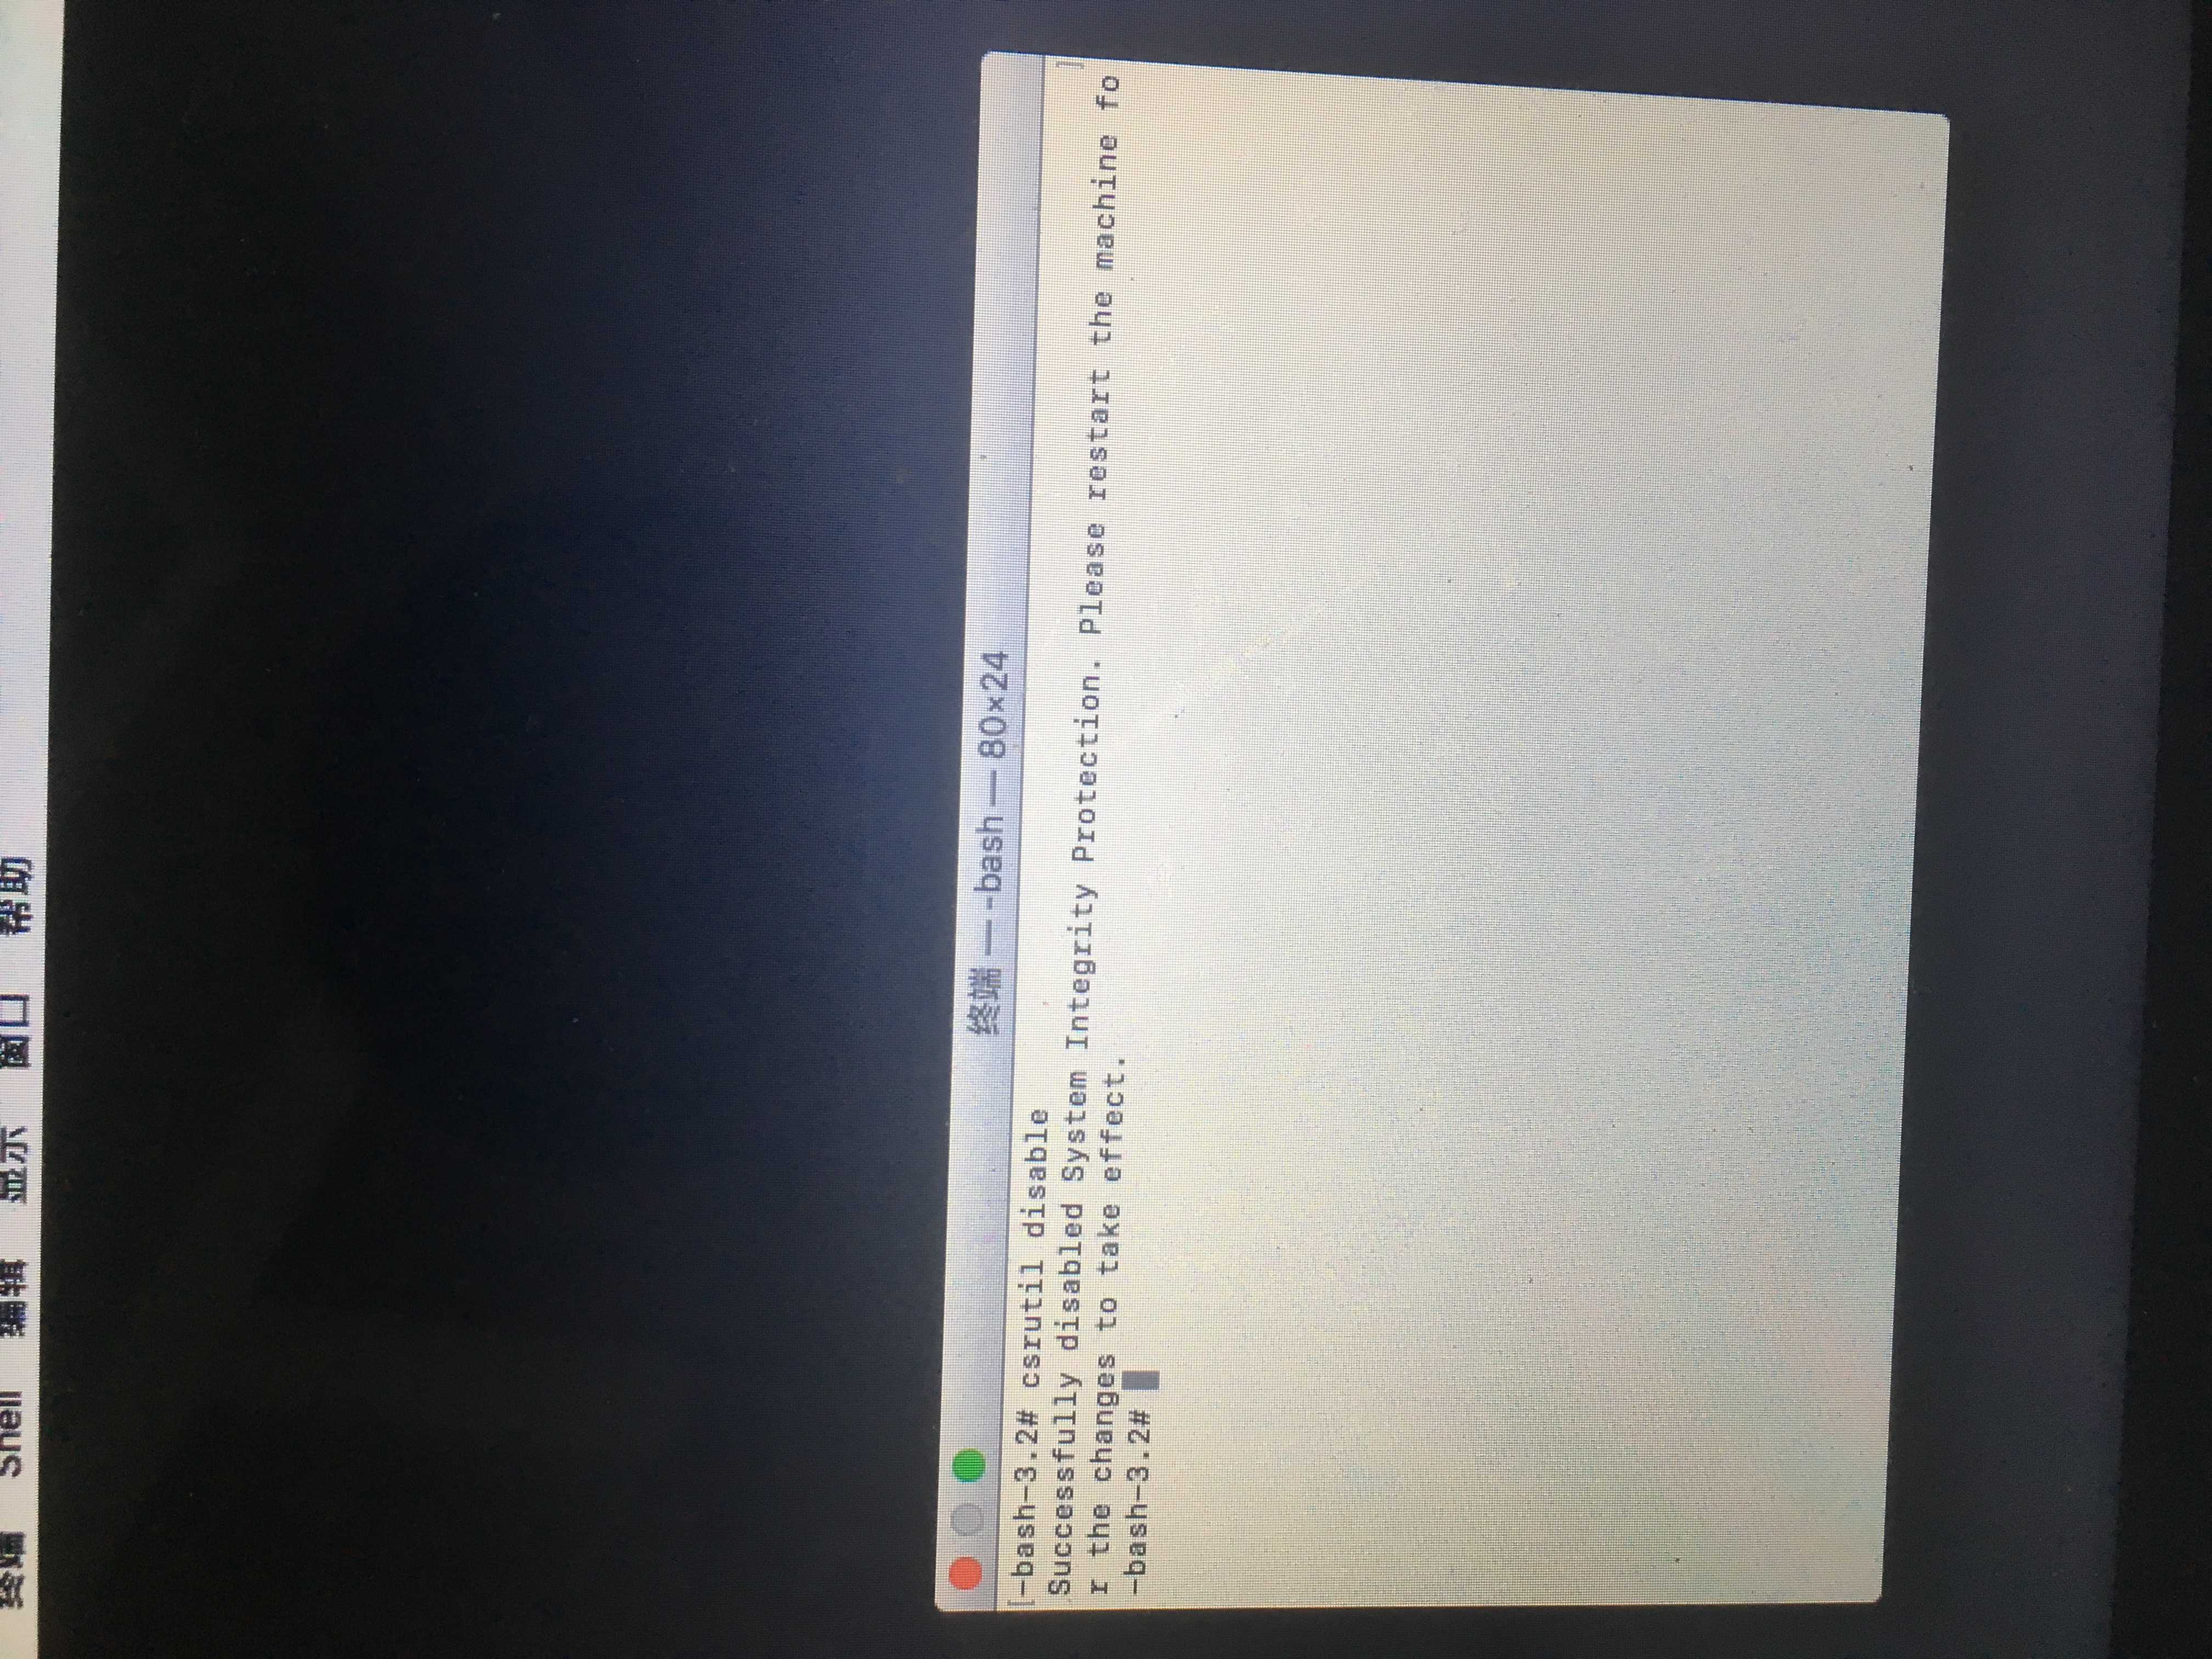
If your mac running a macos lower than El Capitain, ignore the step above.
reboot again, but this time press command + S to enter single user mode.
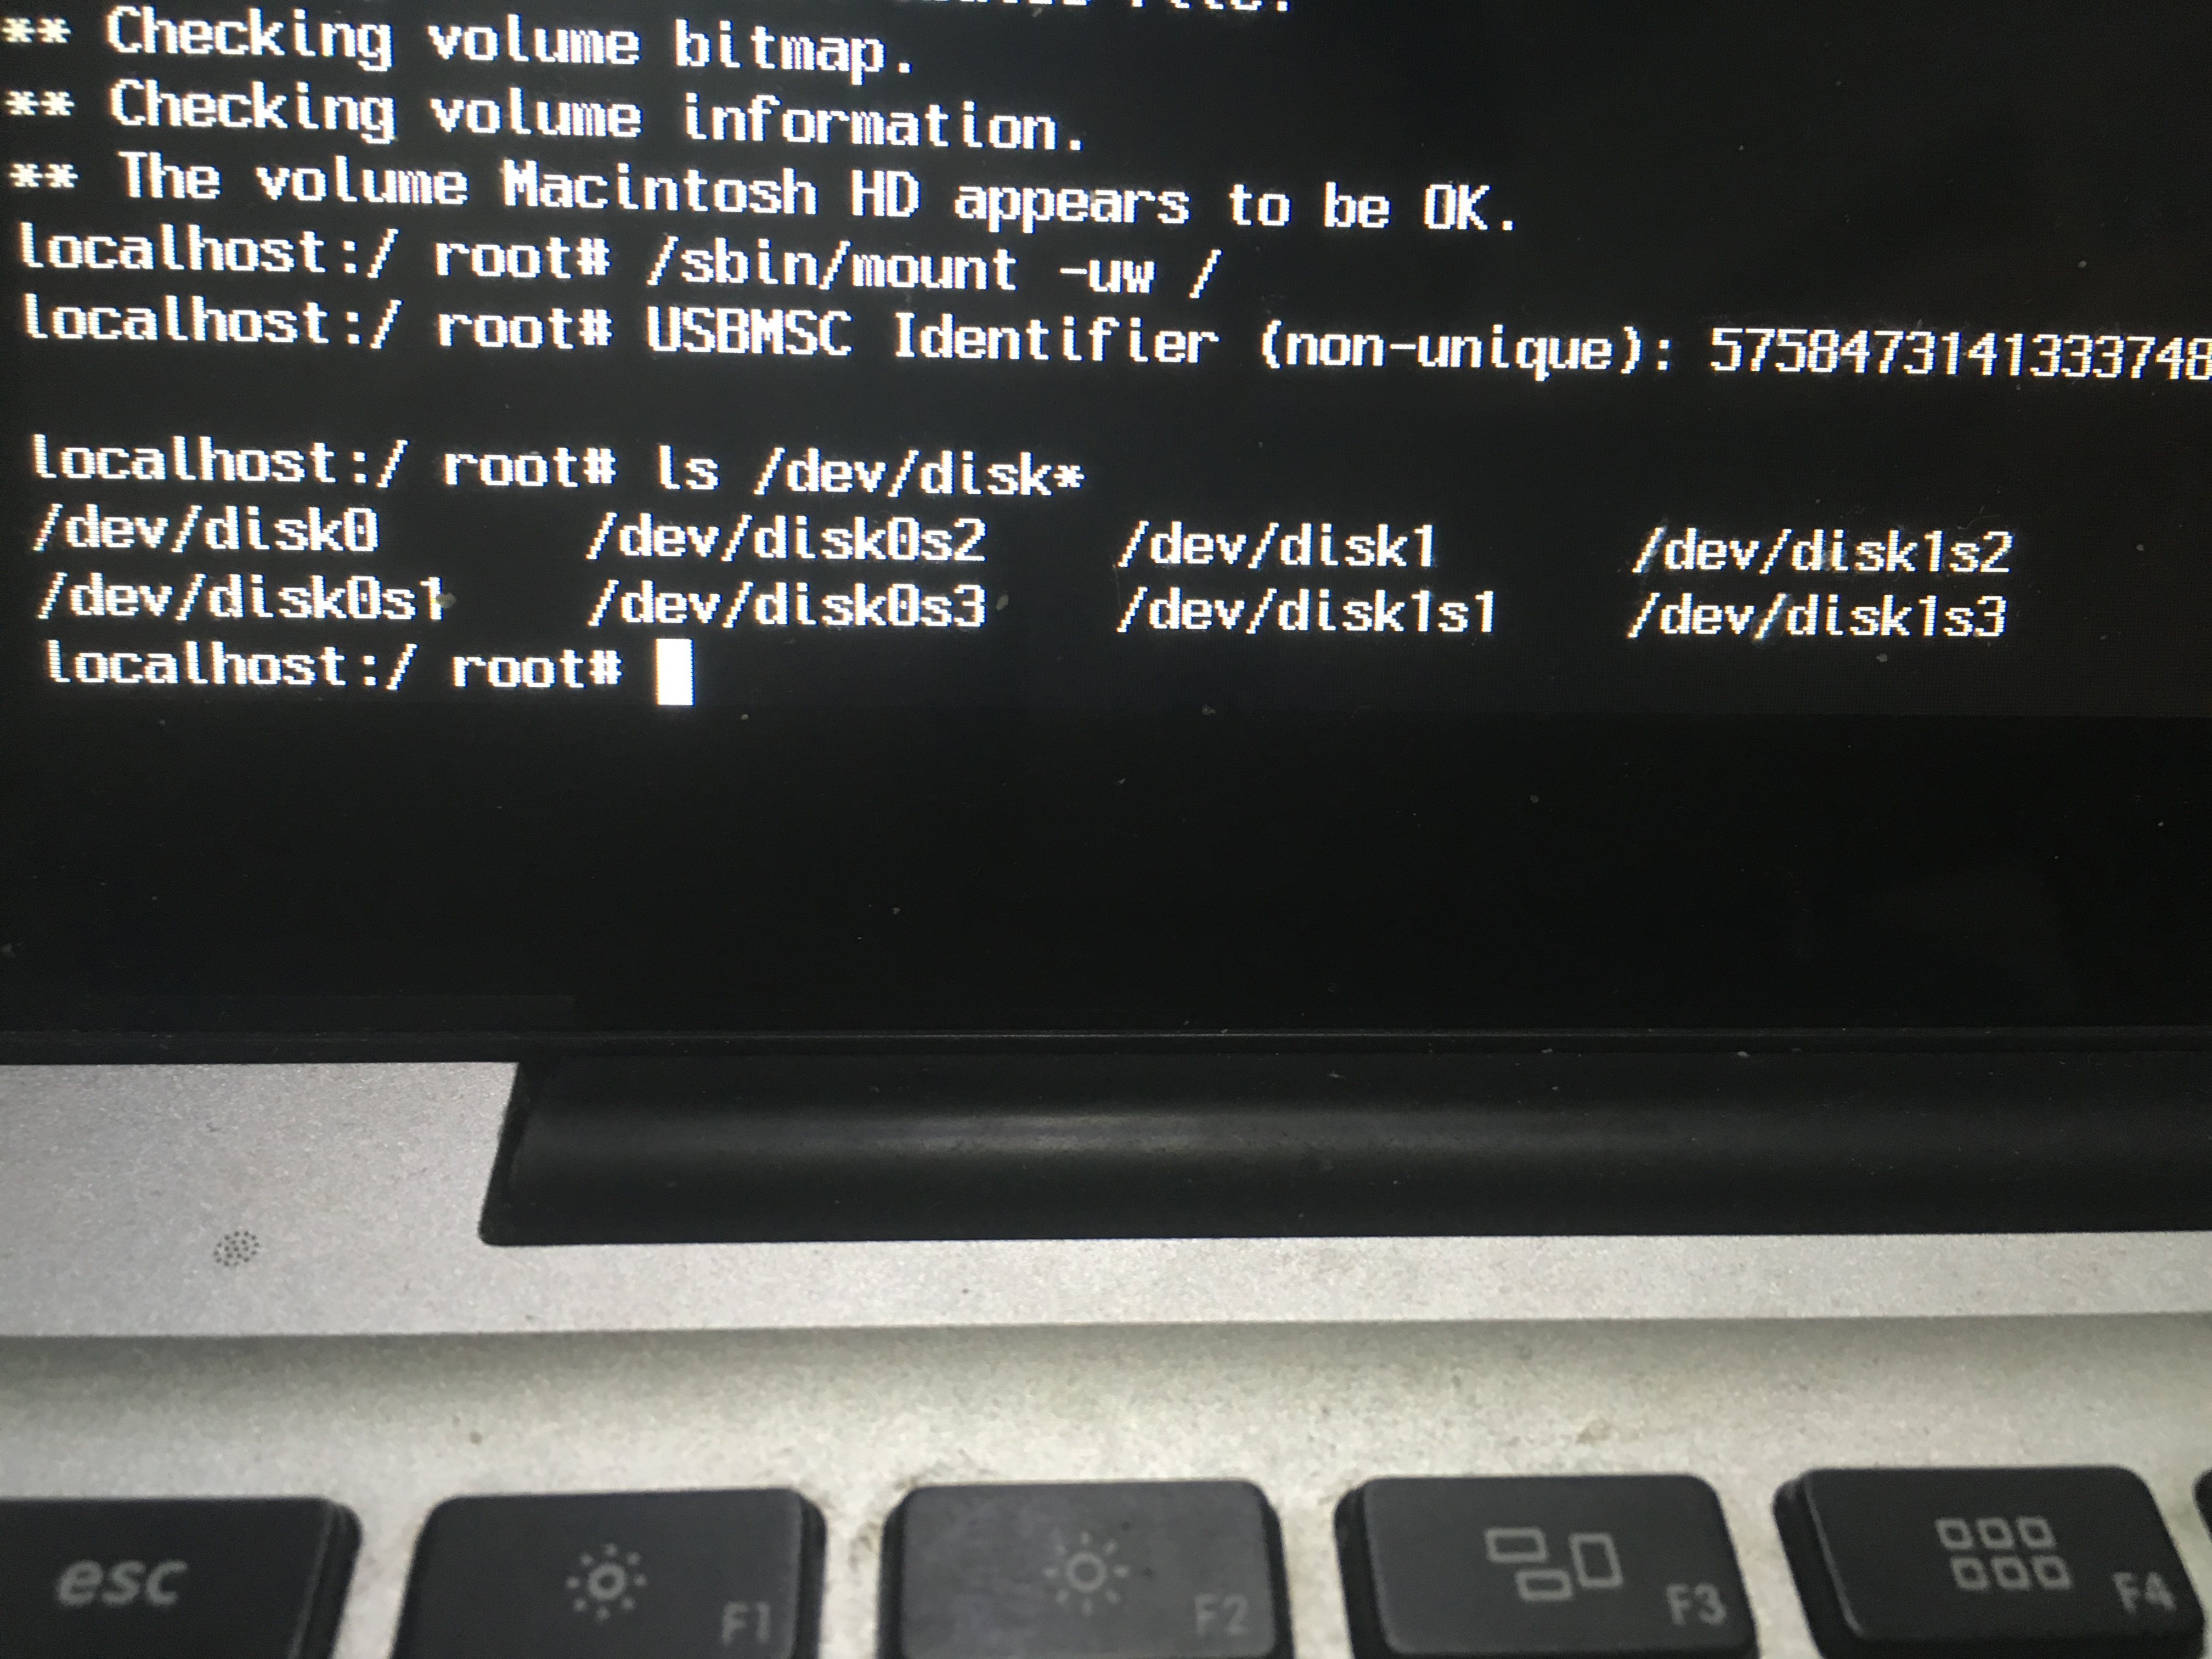
Follow the instruction, type /sbin/fsck -fy and press enter (if this command does not show “The volume xxx appears to be OK”, you should run this command multiple time until it shows this message)
type mount -uw / and press enter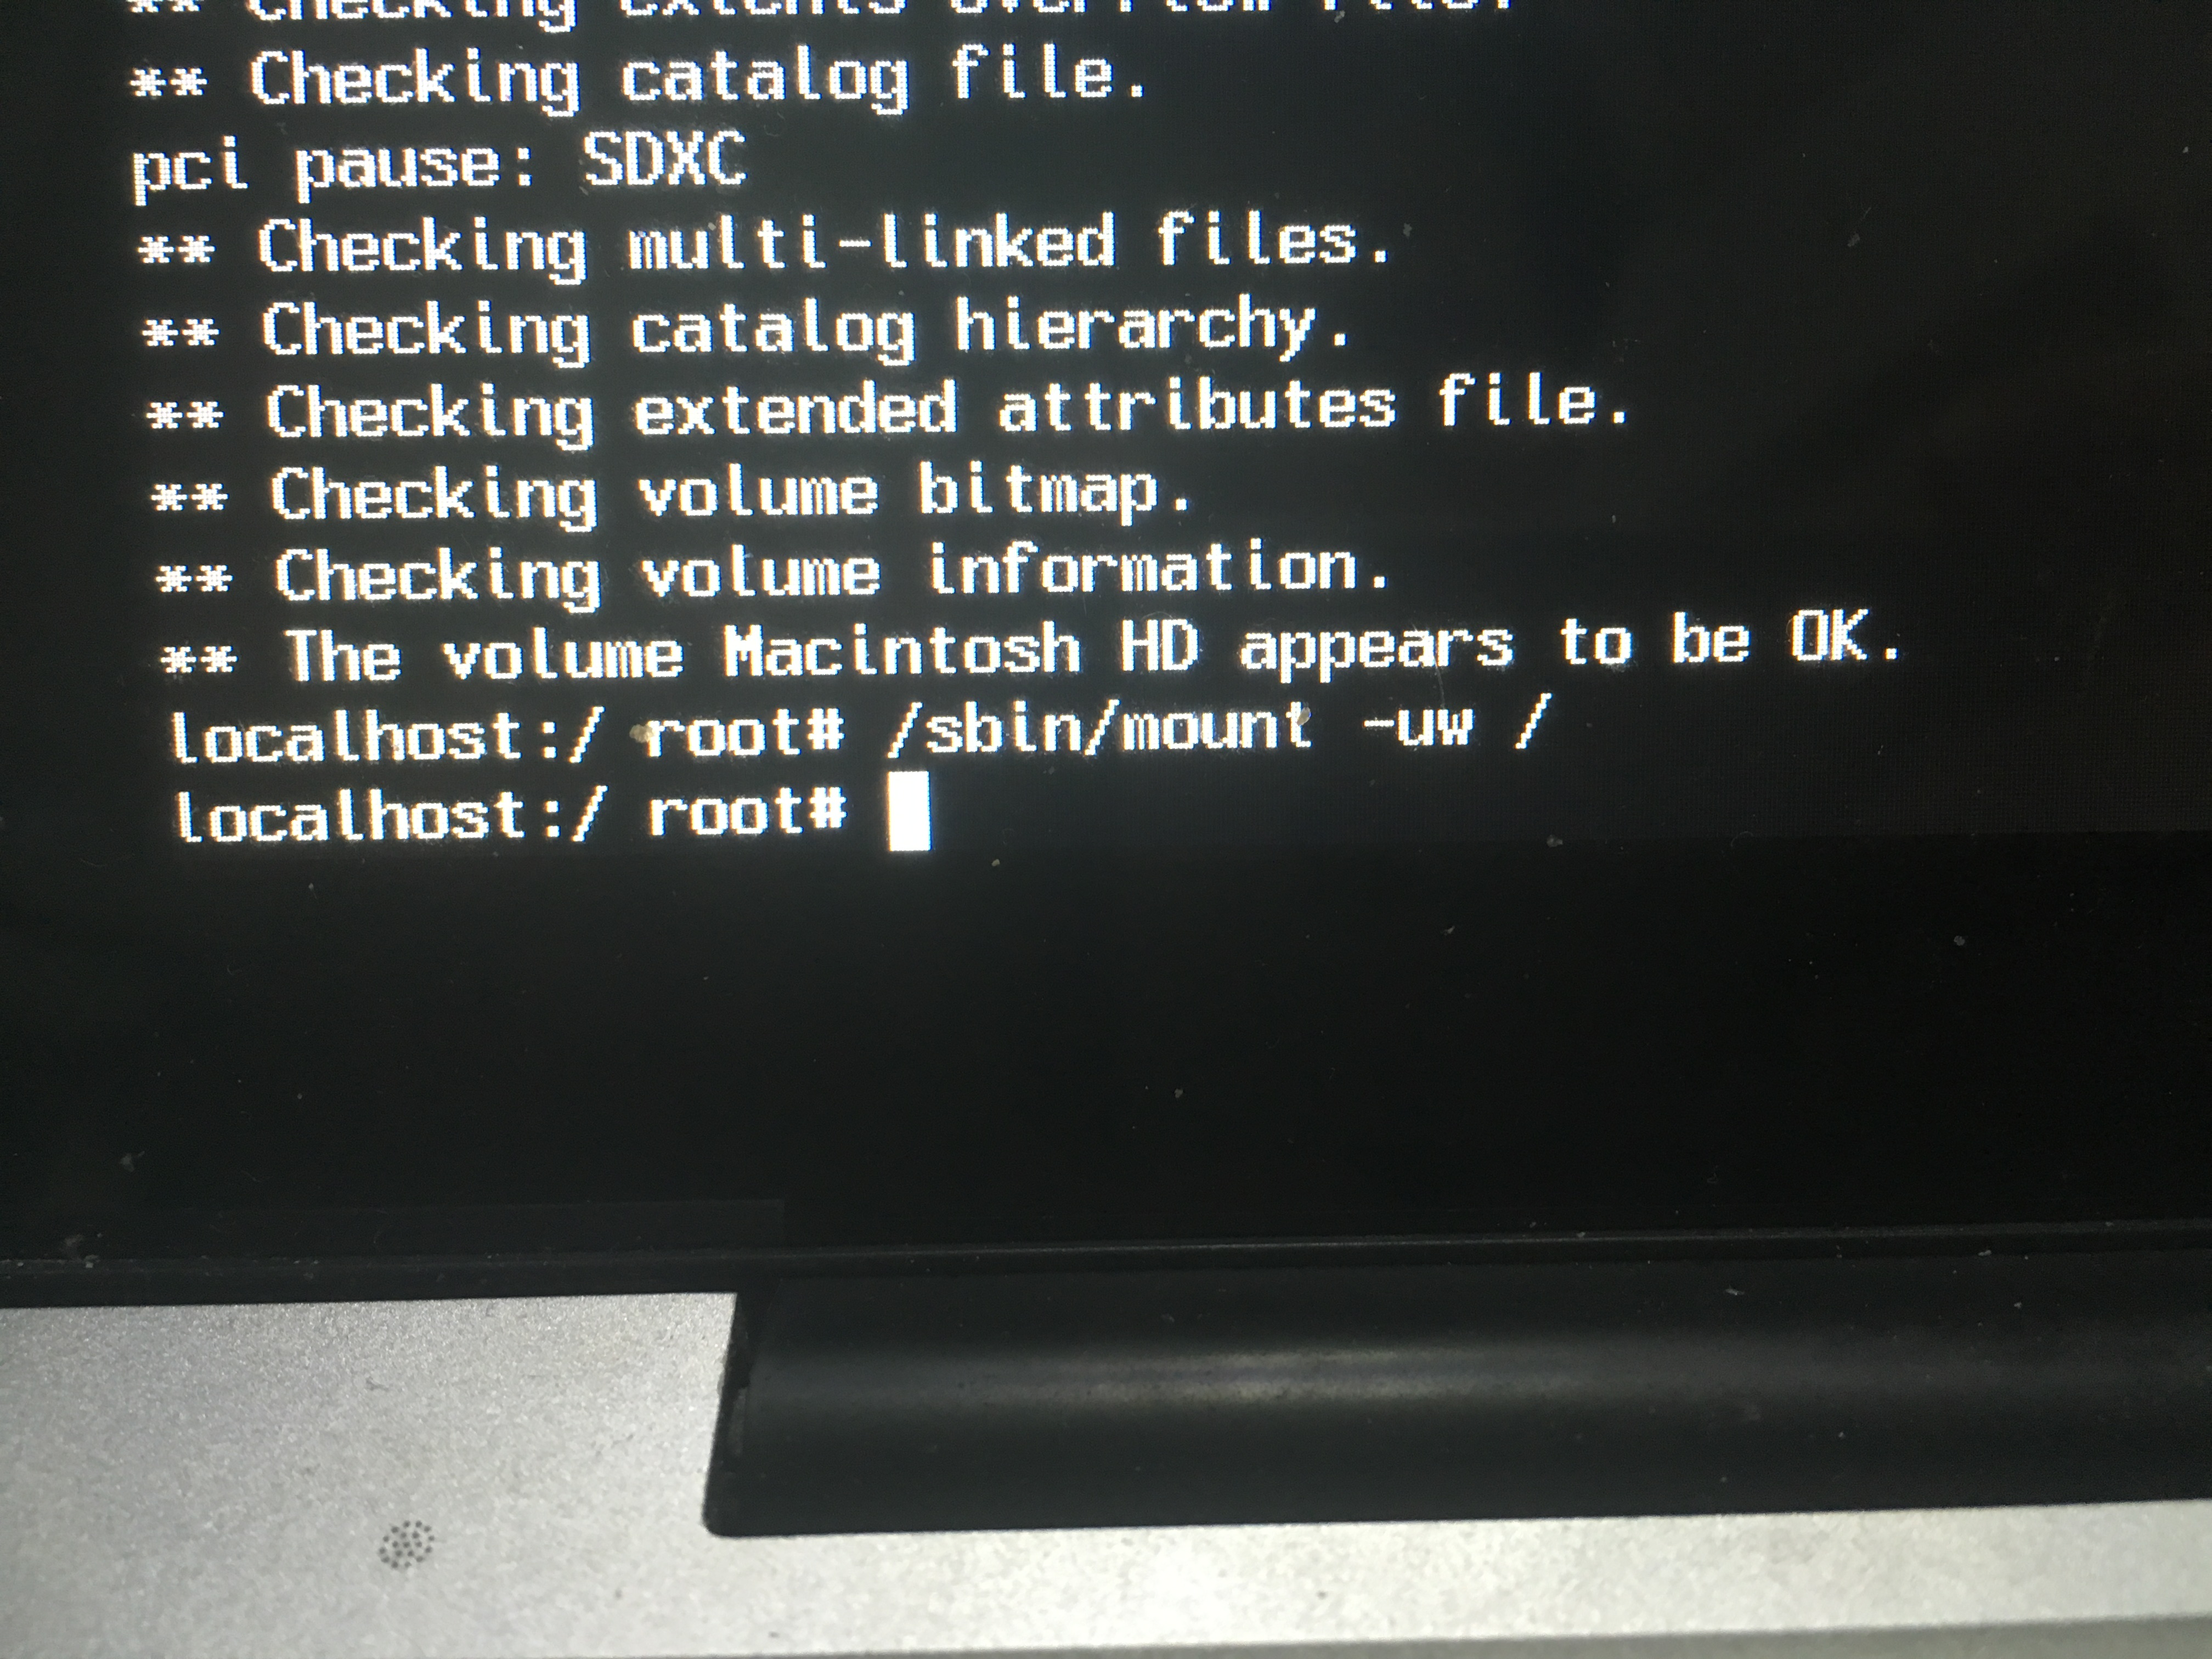
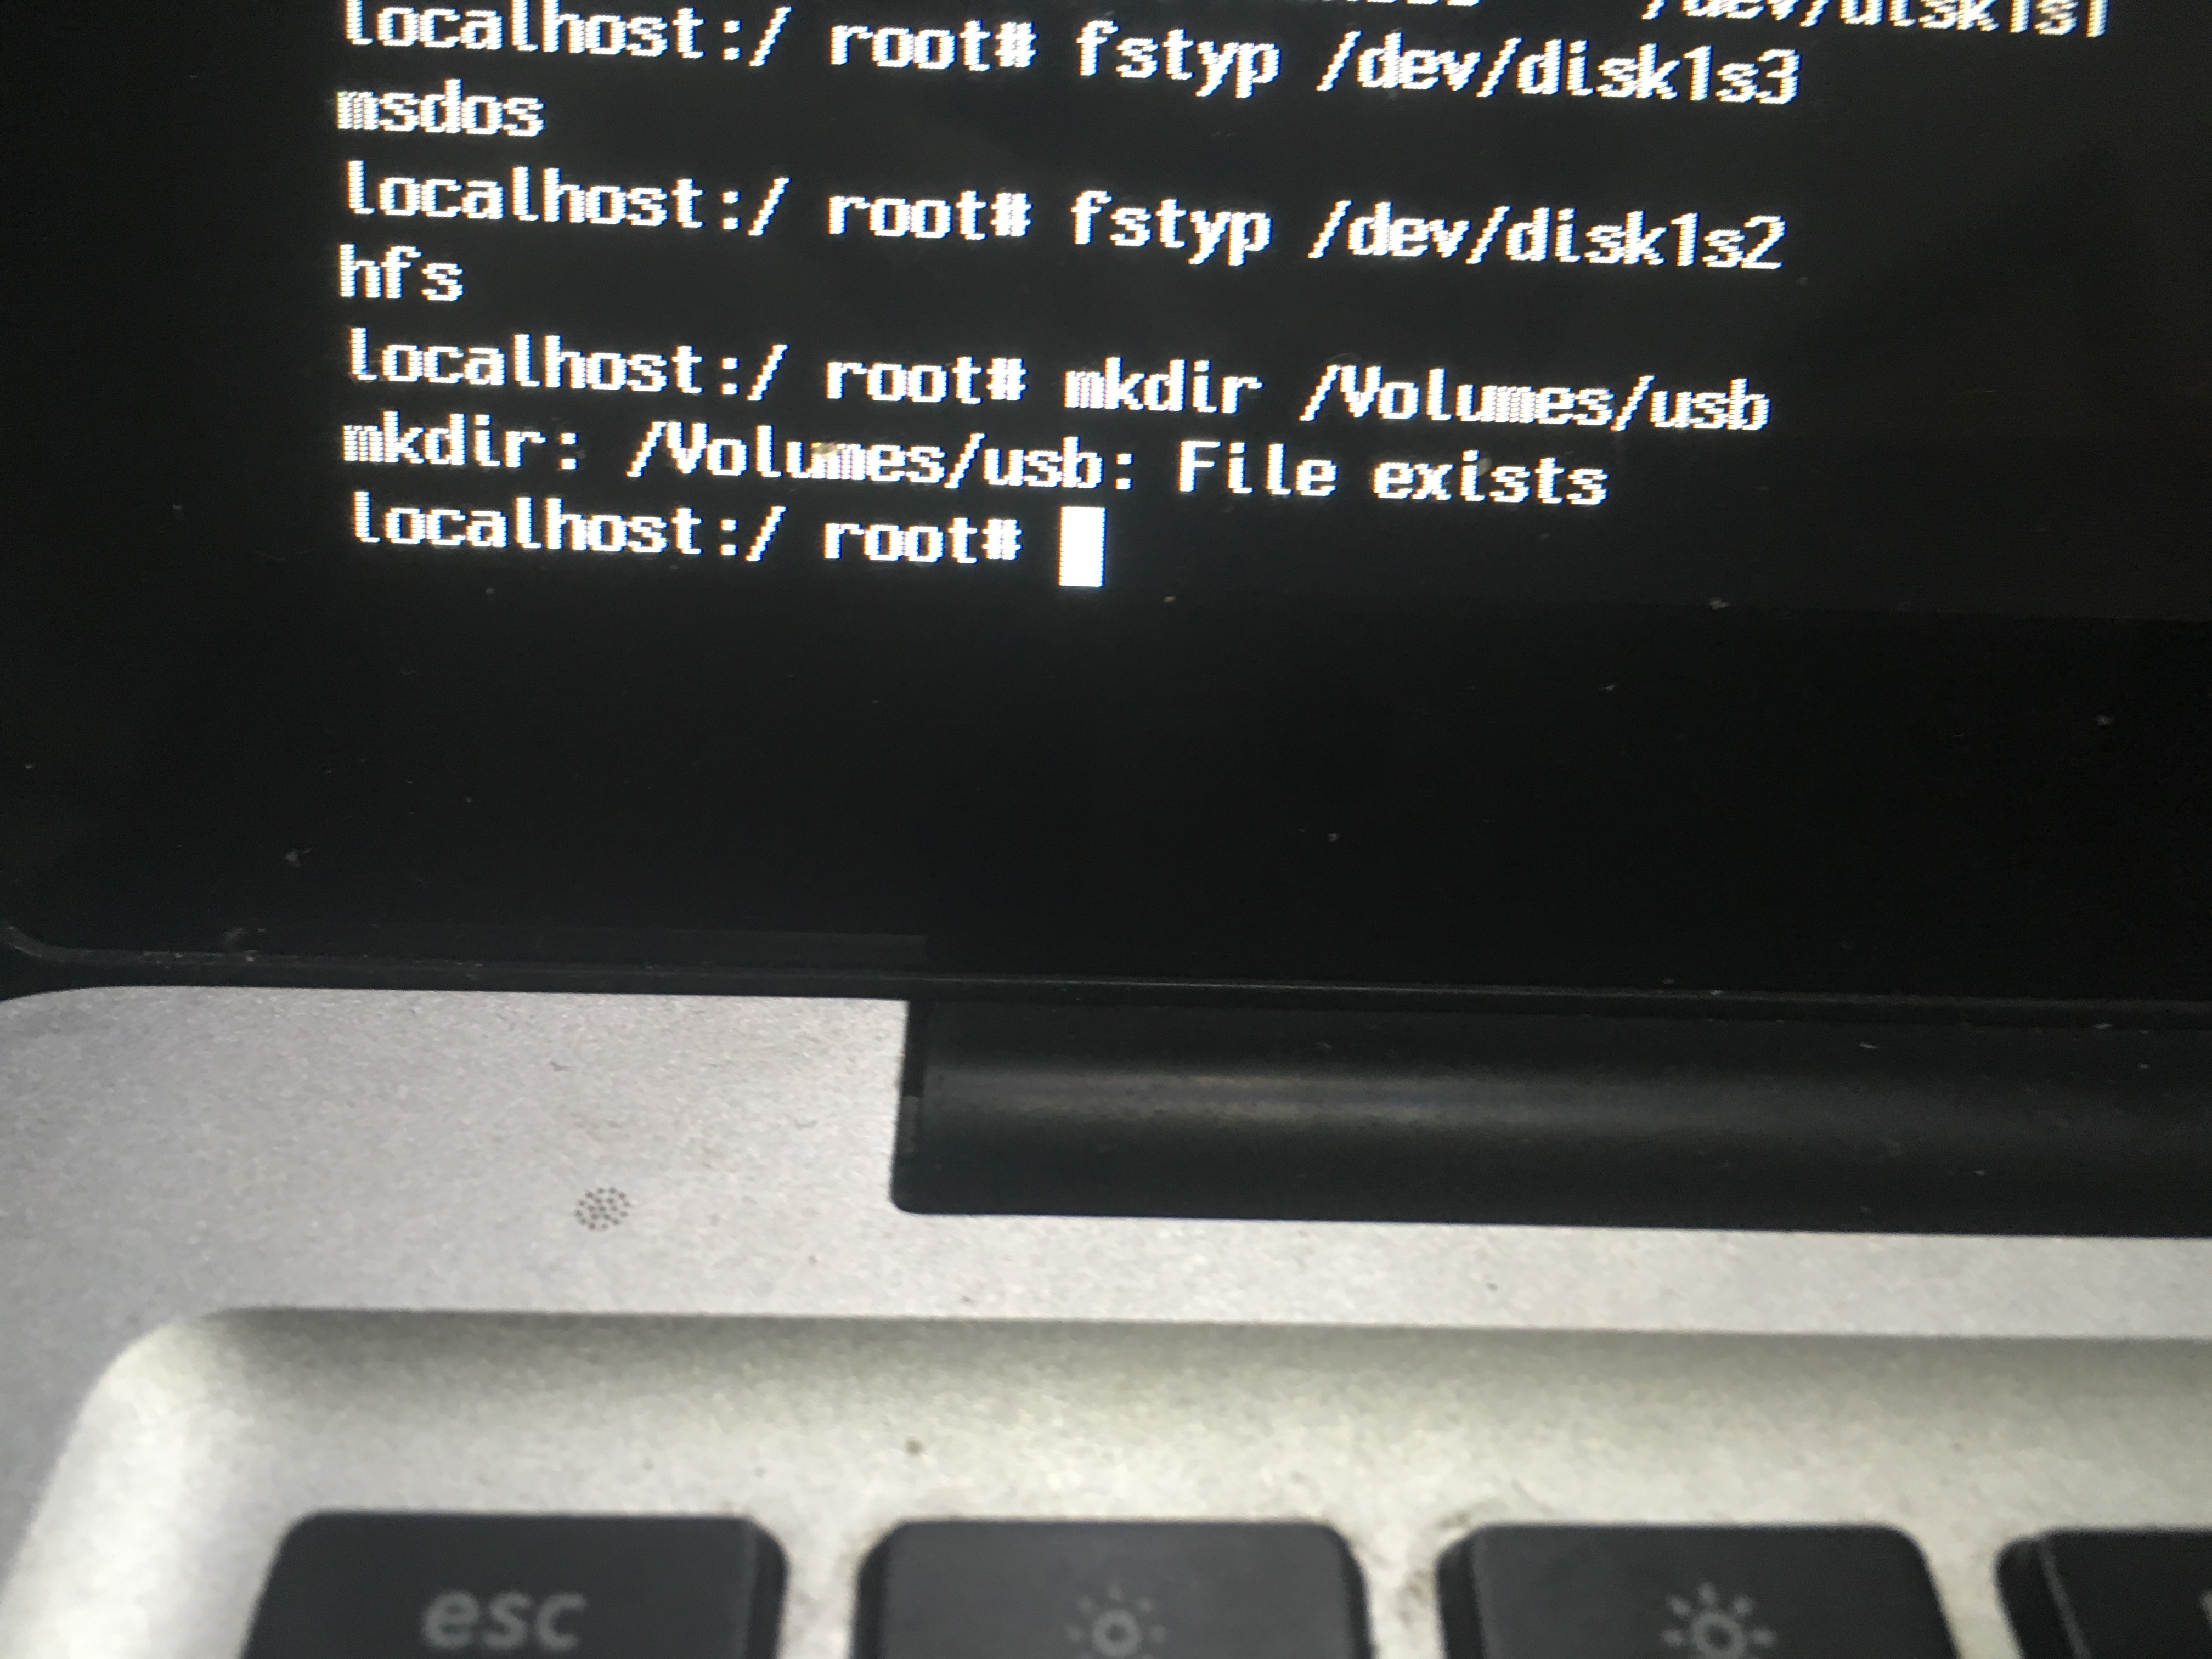
type mkdir /Volumes/usb to create a directory for external storage device (using later).
type ls /dev/disk* to show current disks.
plug in an external storage device (USB or other things), type ls /dev/disk* to find which is the external storage device (often the last one in the list).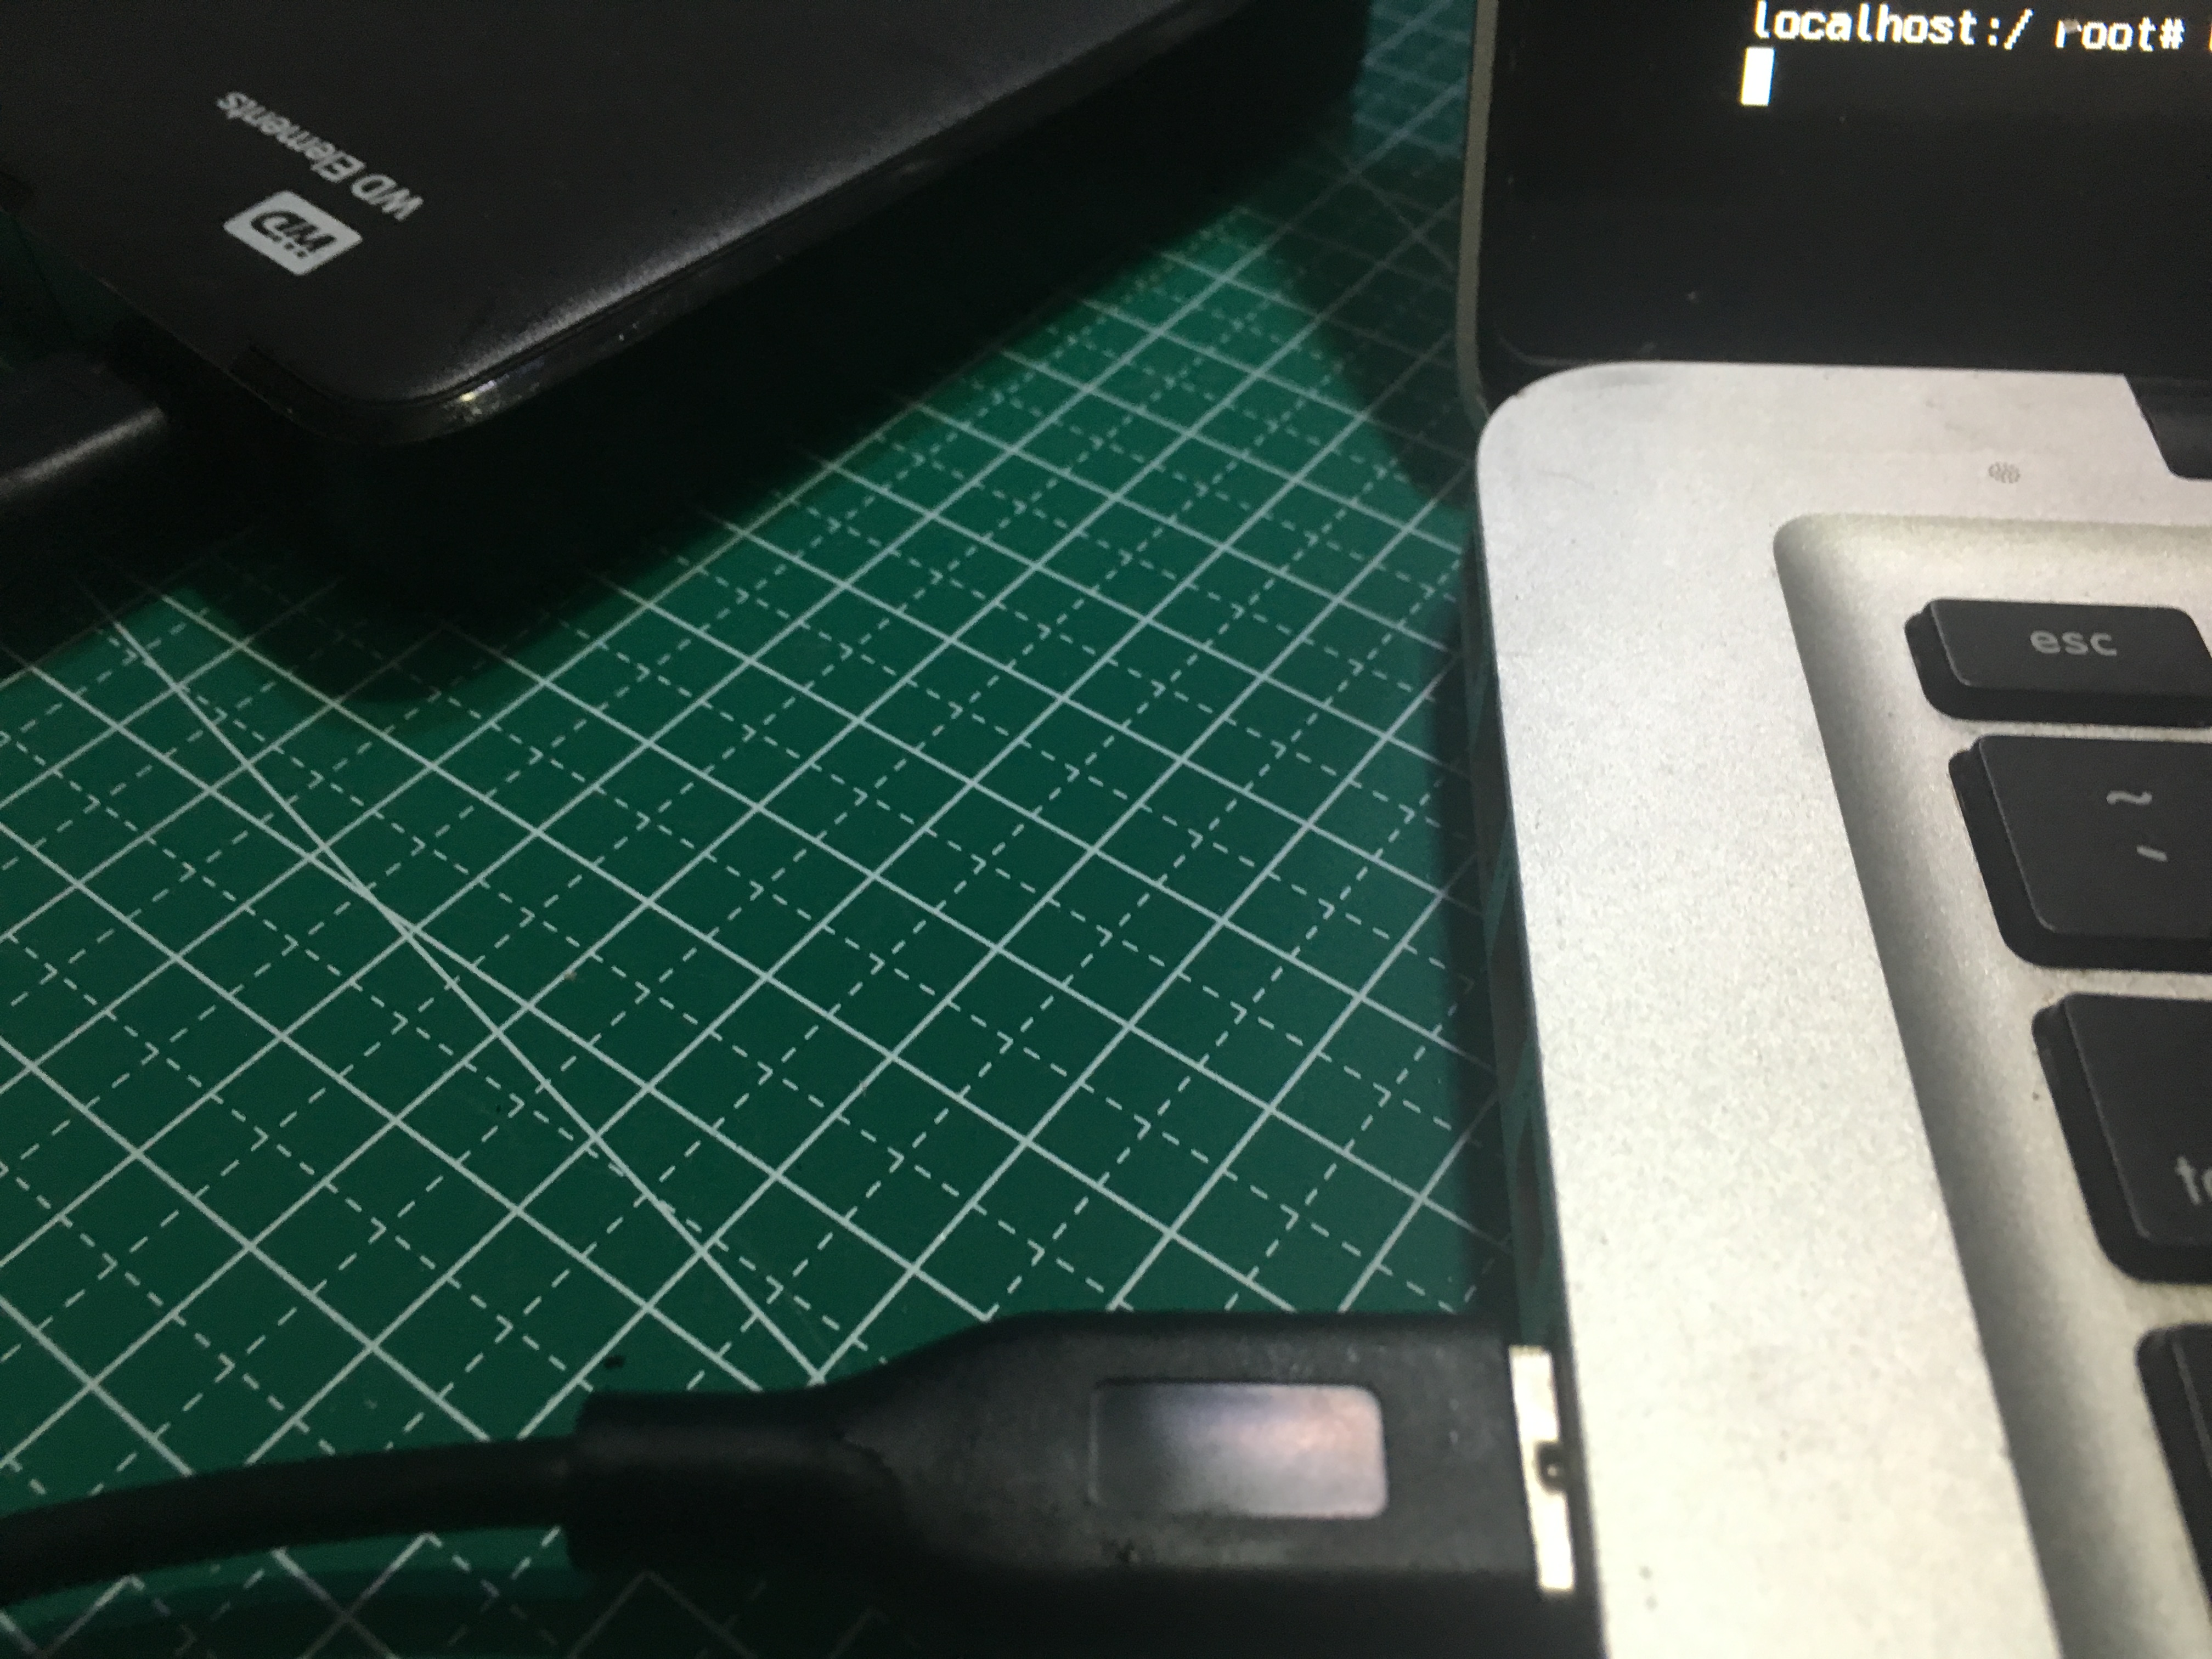
type fstyp /dev/disk1s3 (depends on which disk you are using) to find the system of the disk, (Interest things is that although my drive is exfat, the fstyp shows msdos).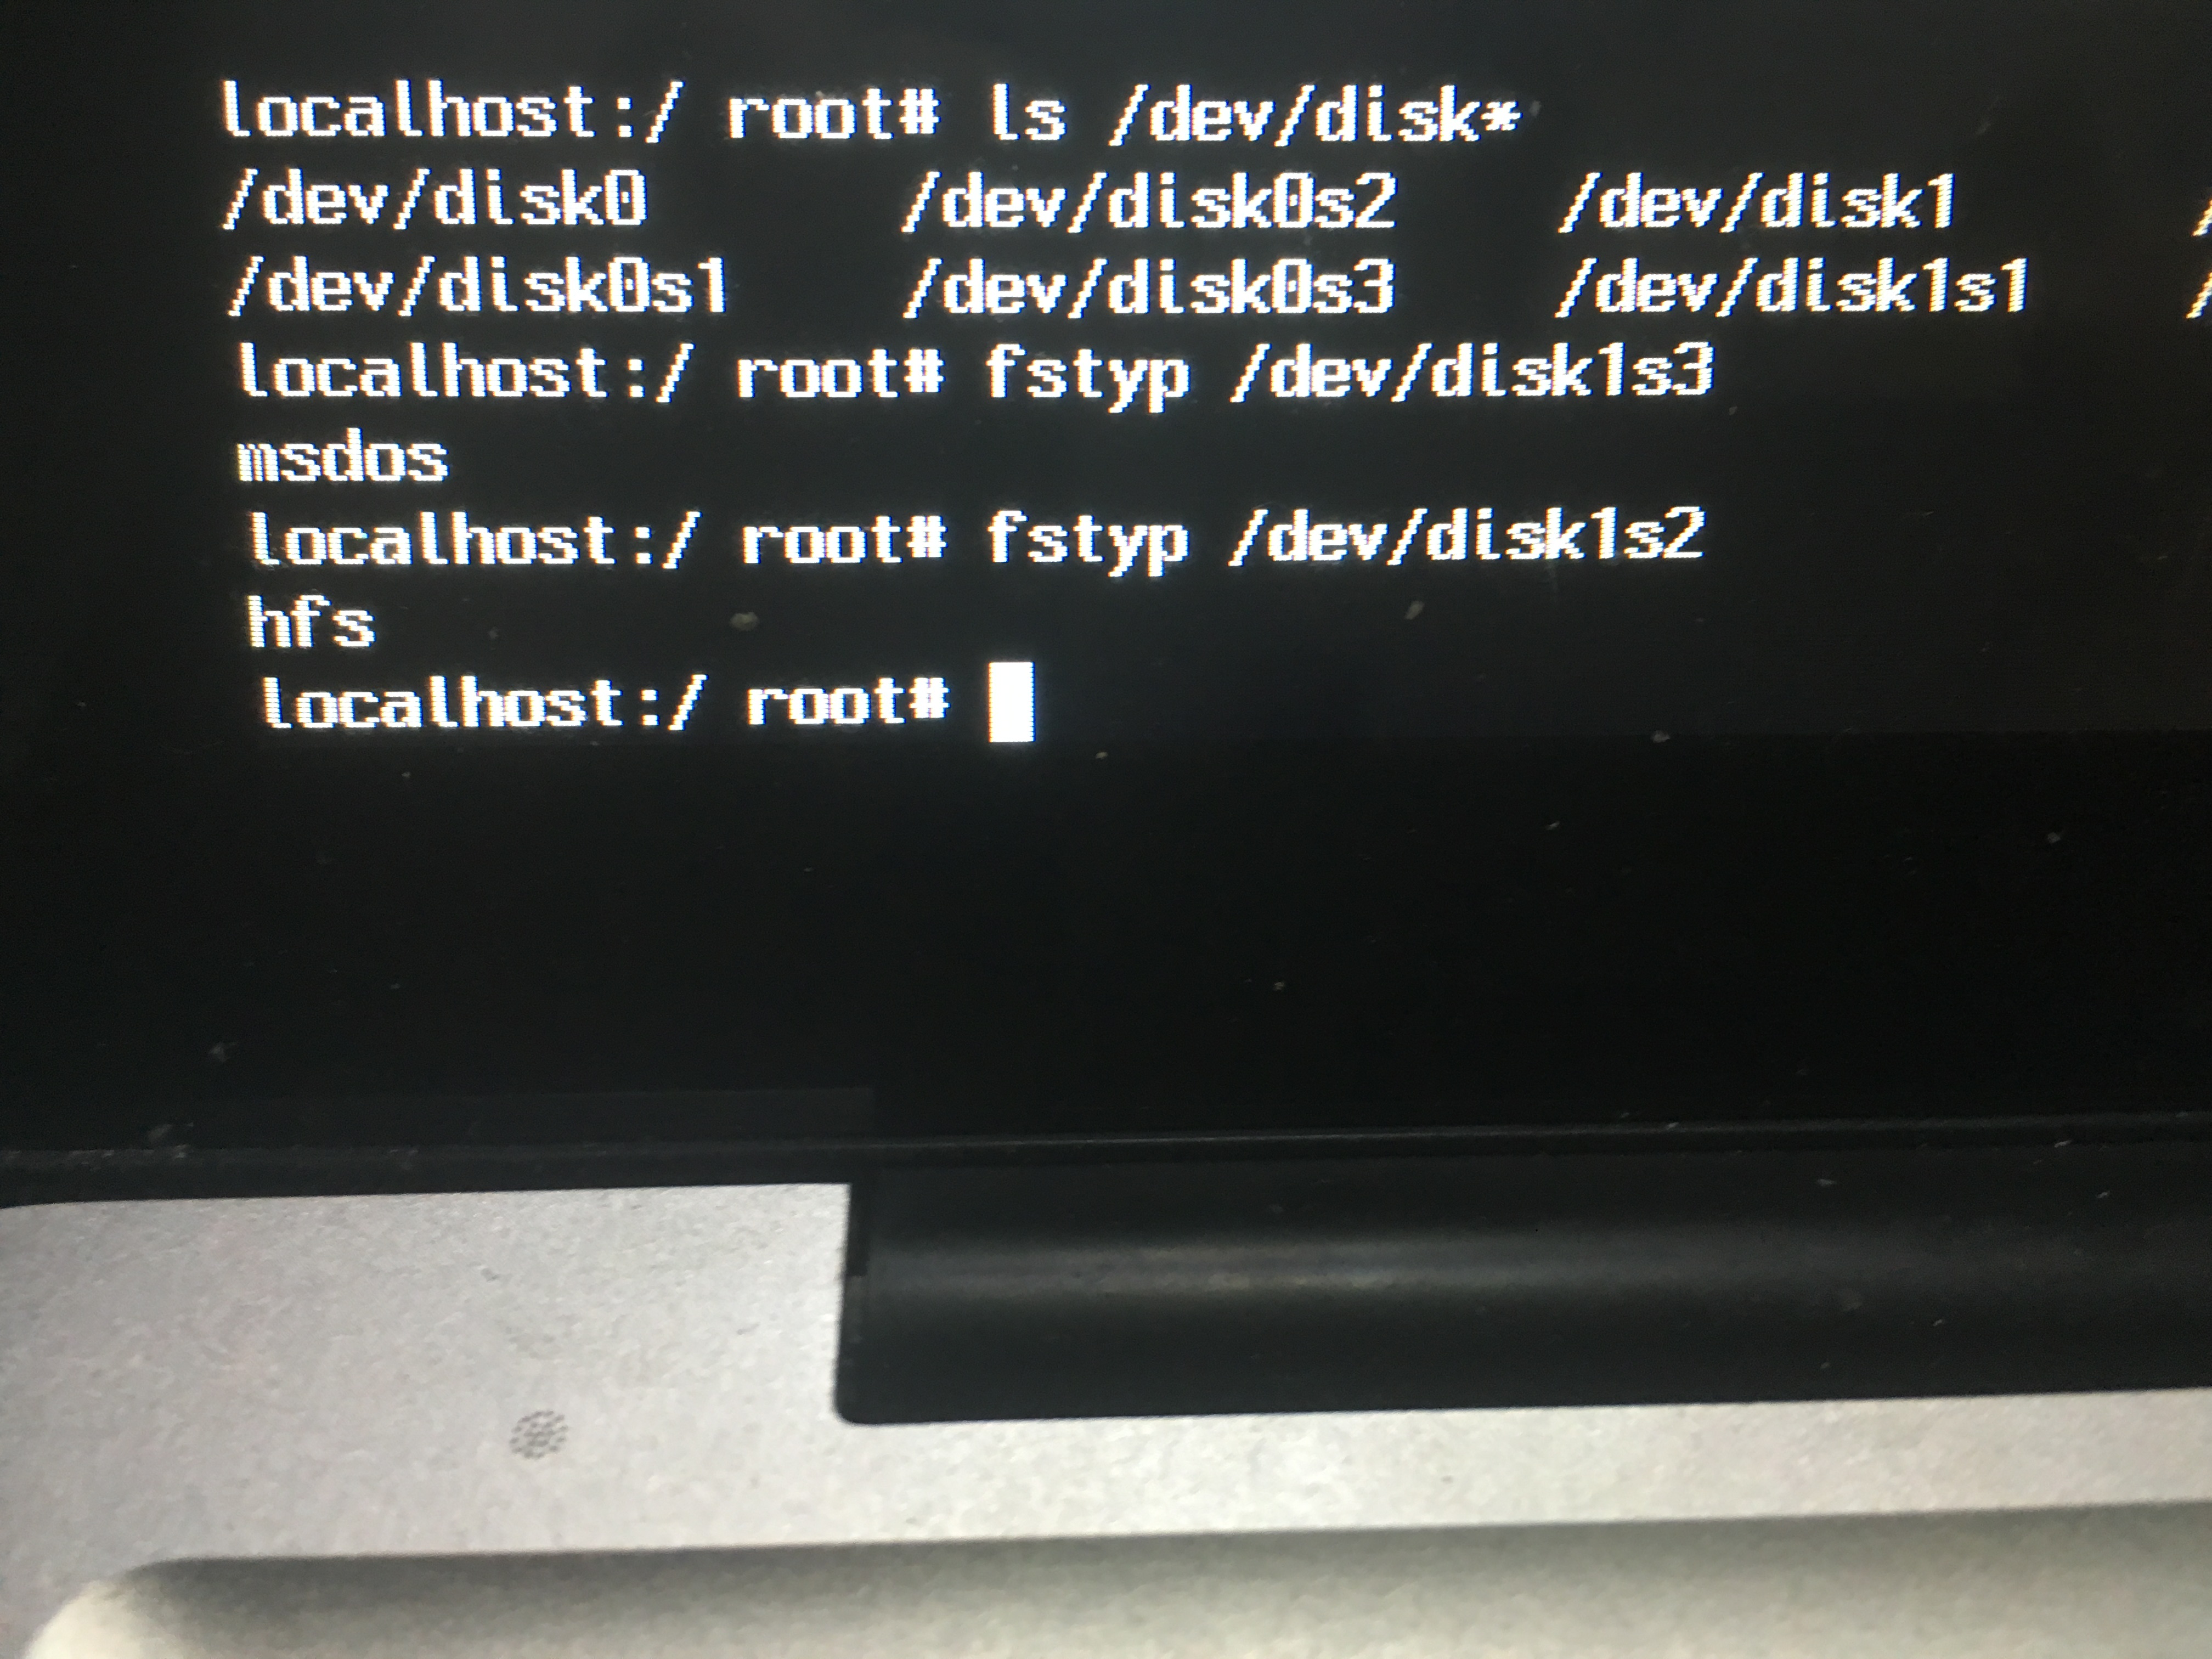
according to 7, type /sbin/mount_exfat /dev/disk1s3 /Volumes/usb to load storage device. Depending on your file system, you may choose a different command. For example, if your device is using msdos file system, you should type /sbin/mount_msdos instead of /sbin/mount_exfat. You can see all the supported file system by entering ls /sbin/mount_*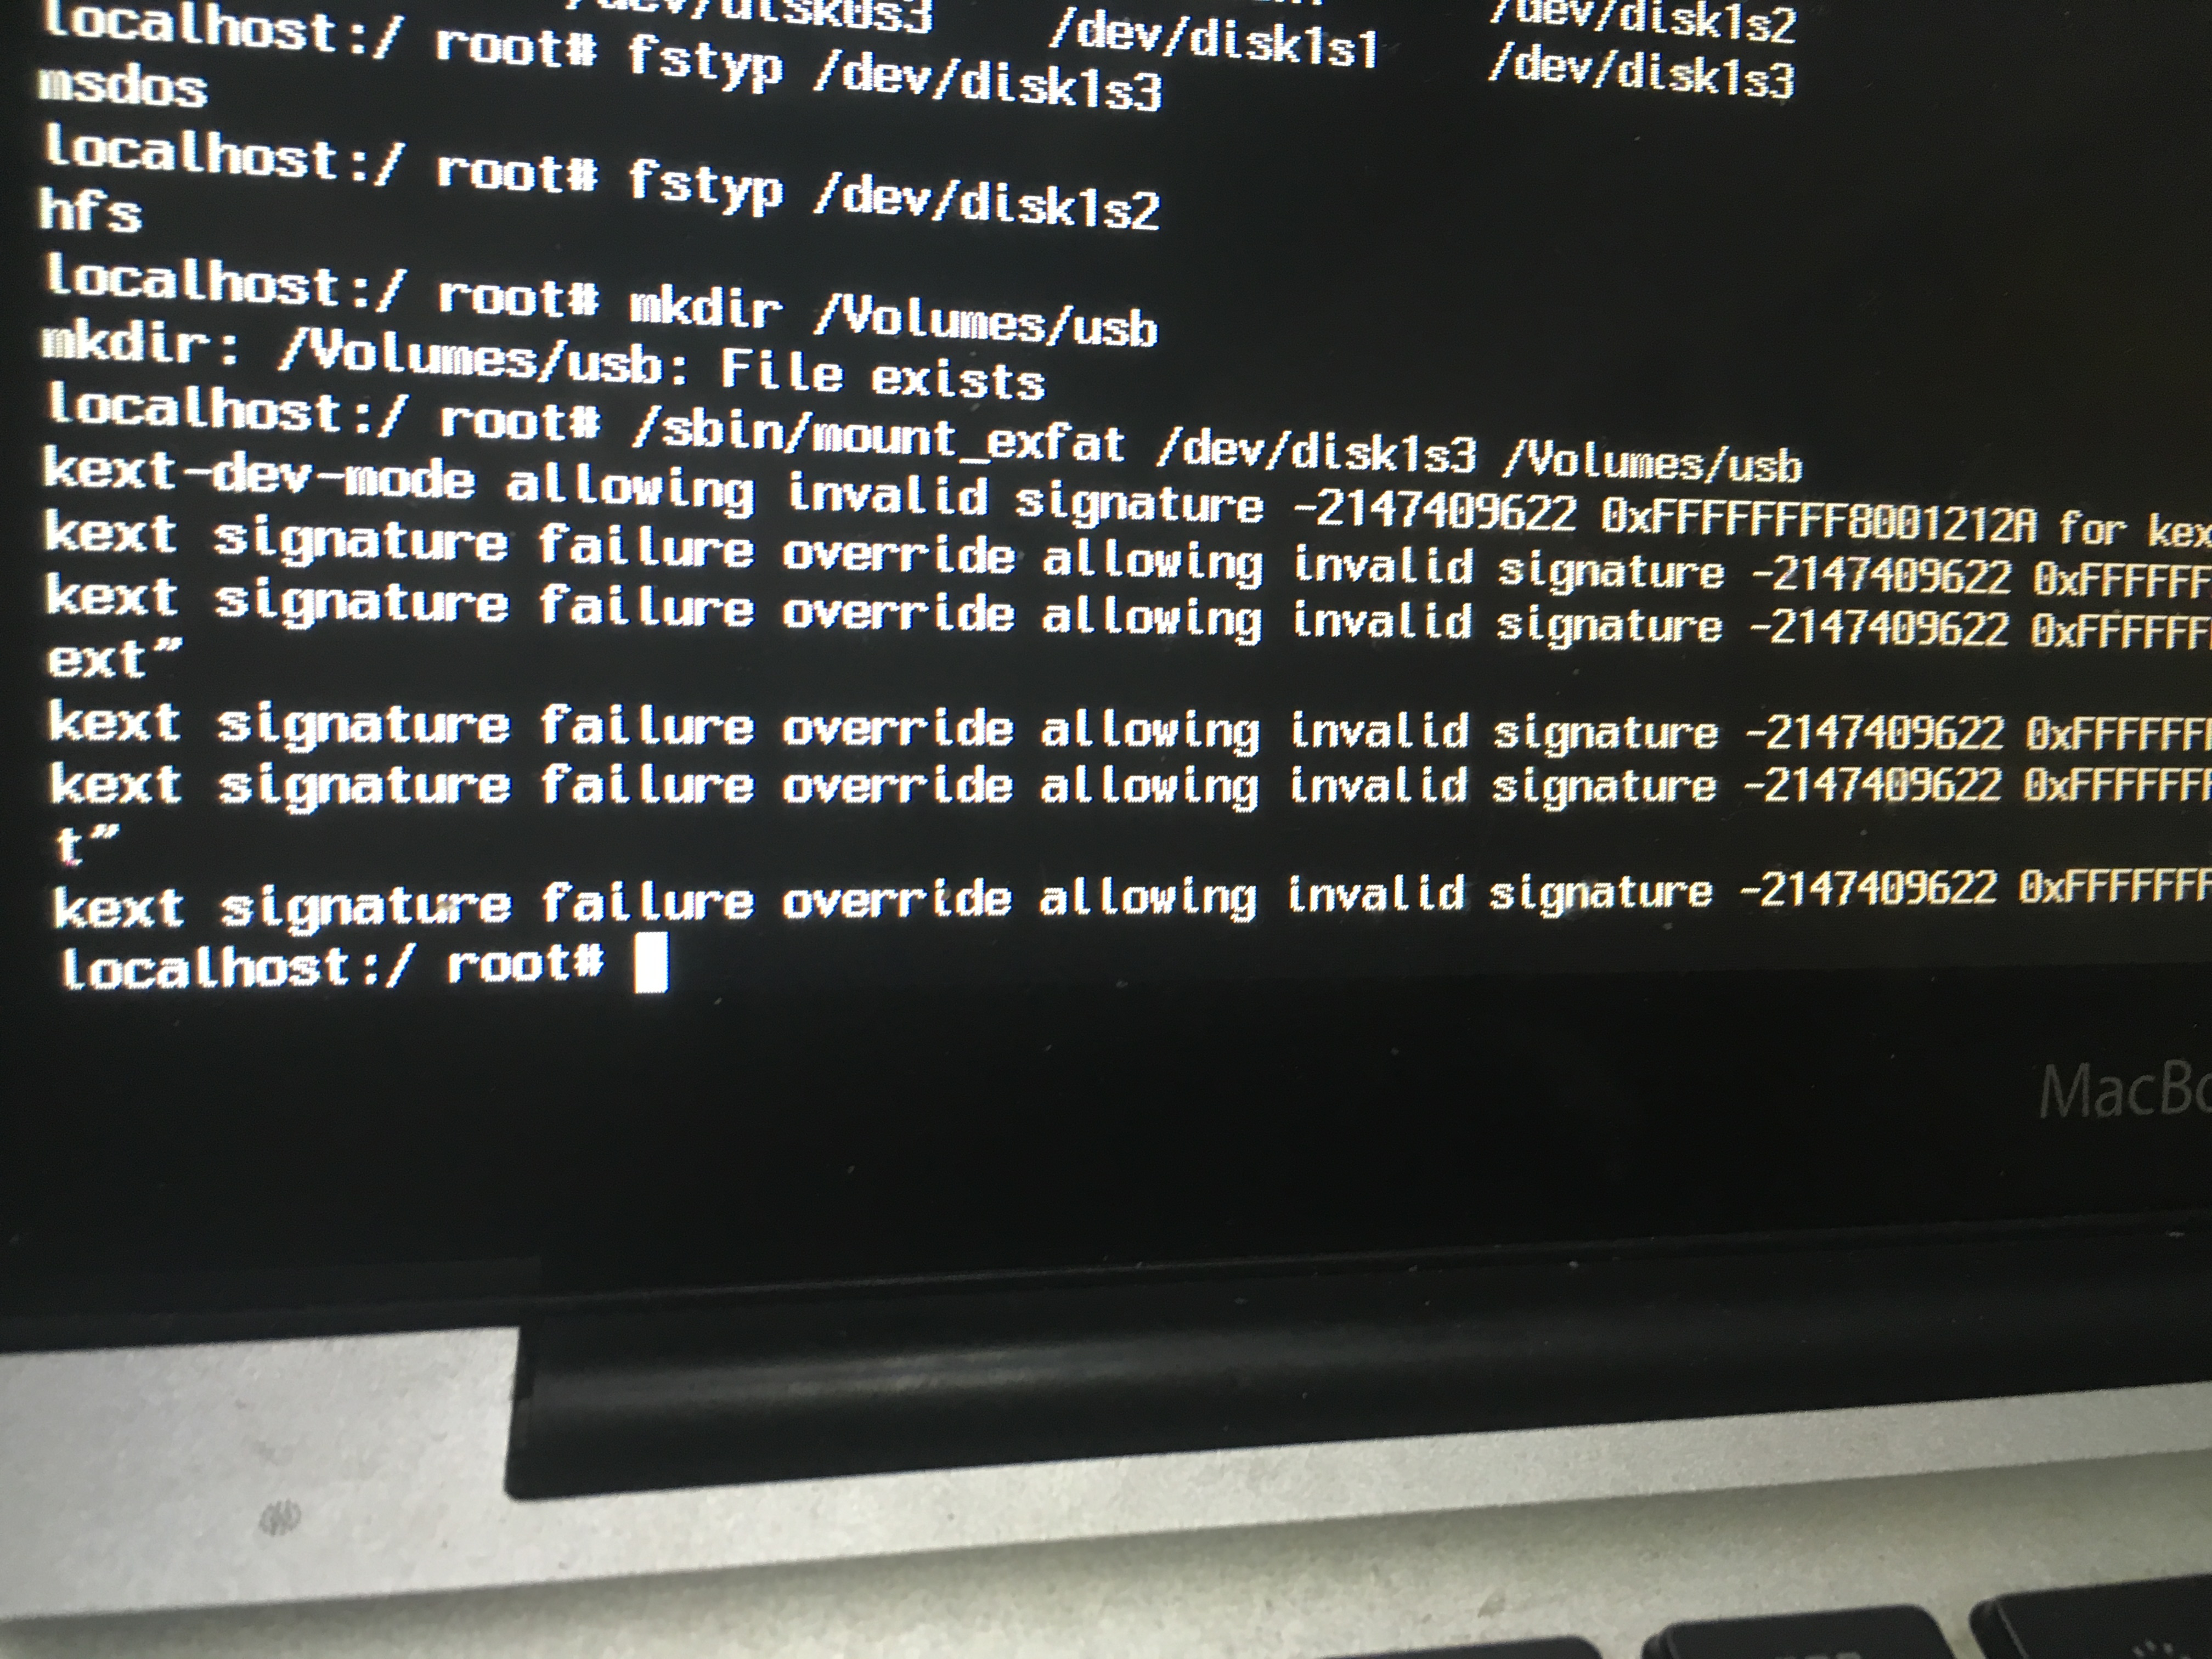
if the external storage is loaded success, you can now access your external drive. Type ls /Volumes/usb to find out.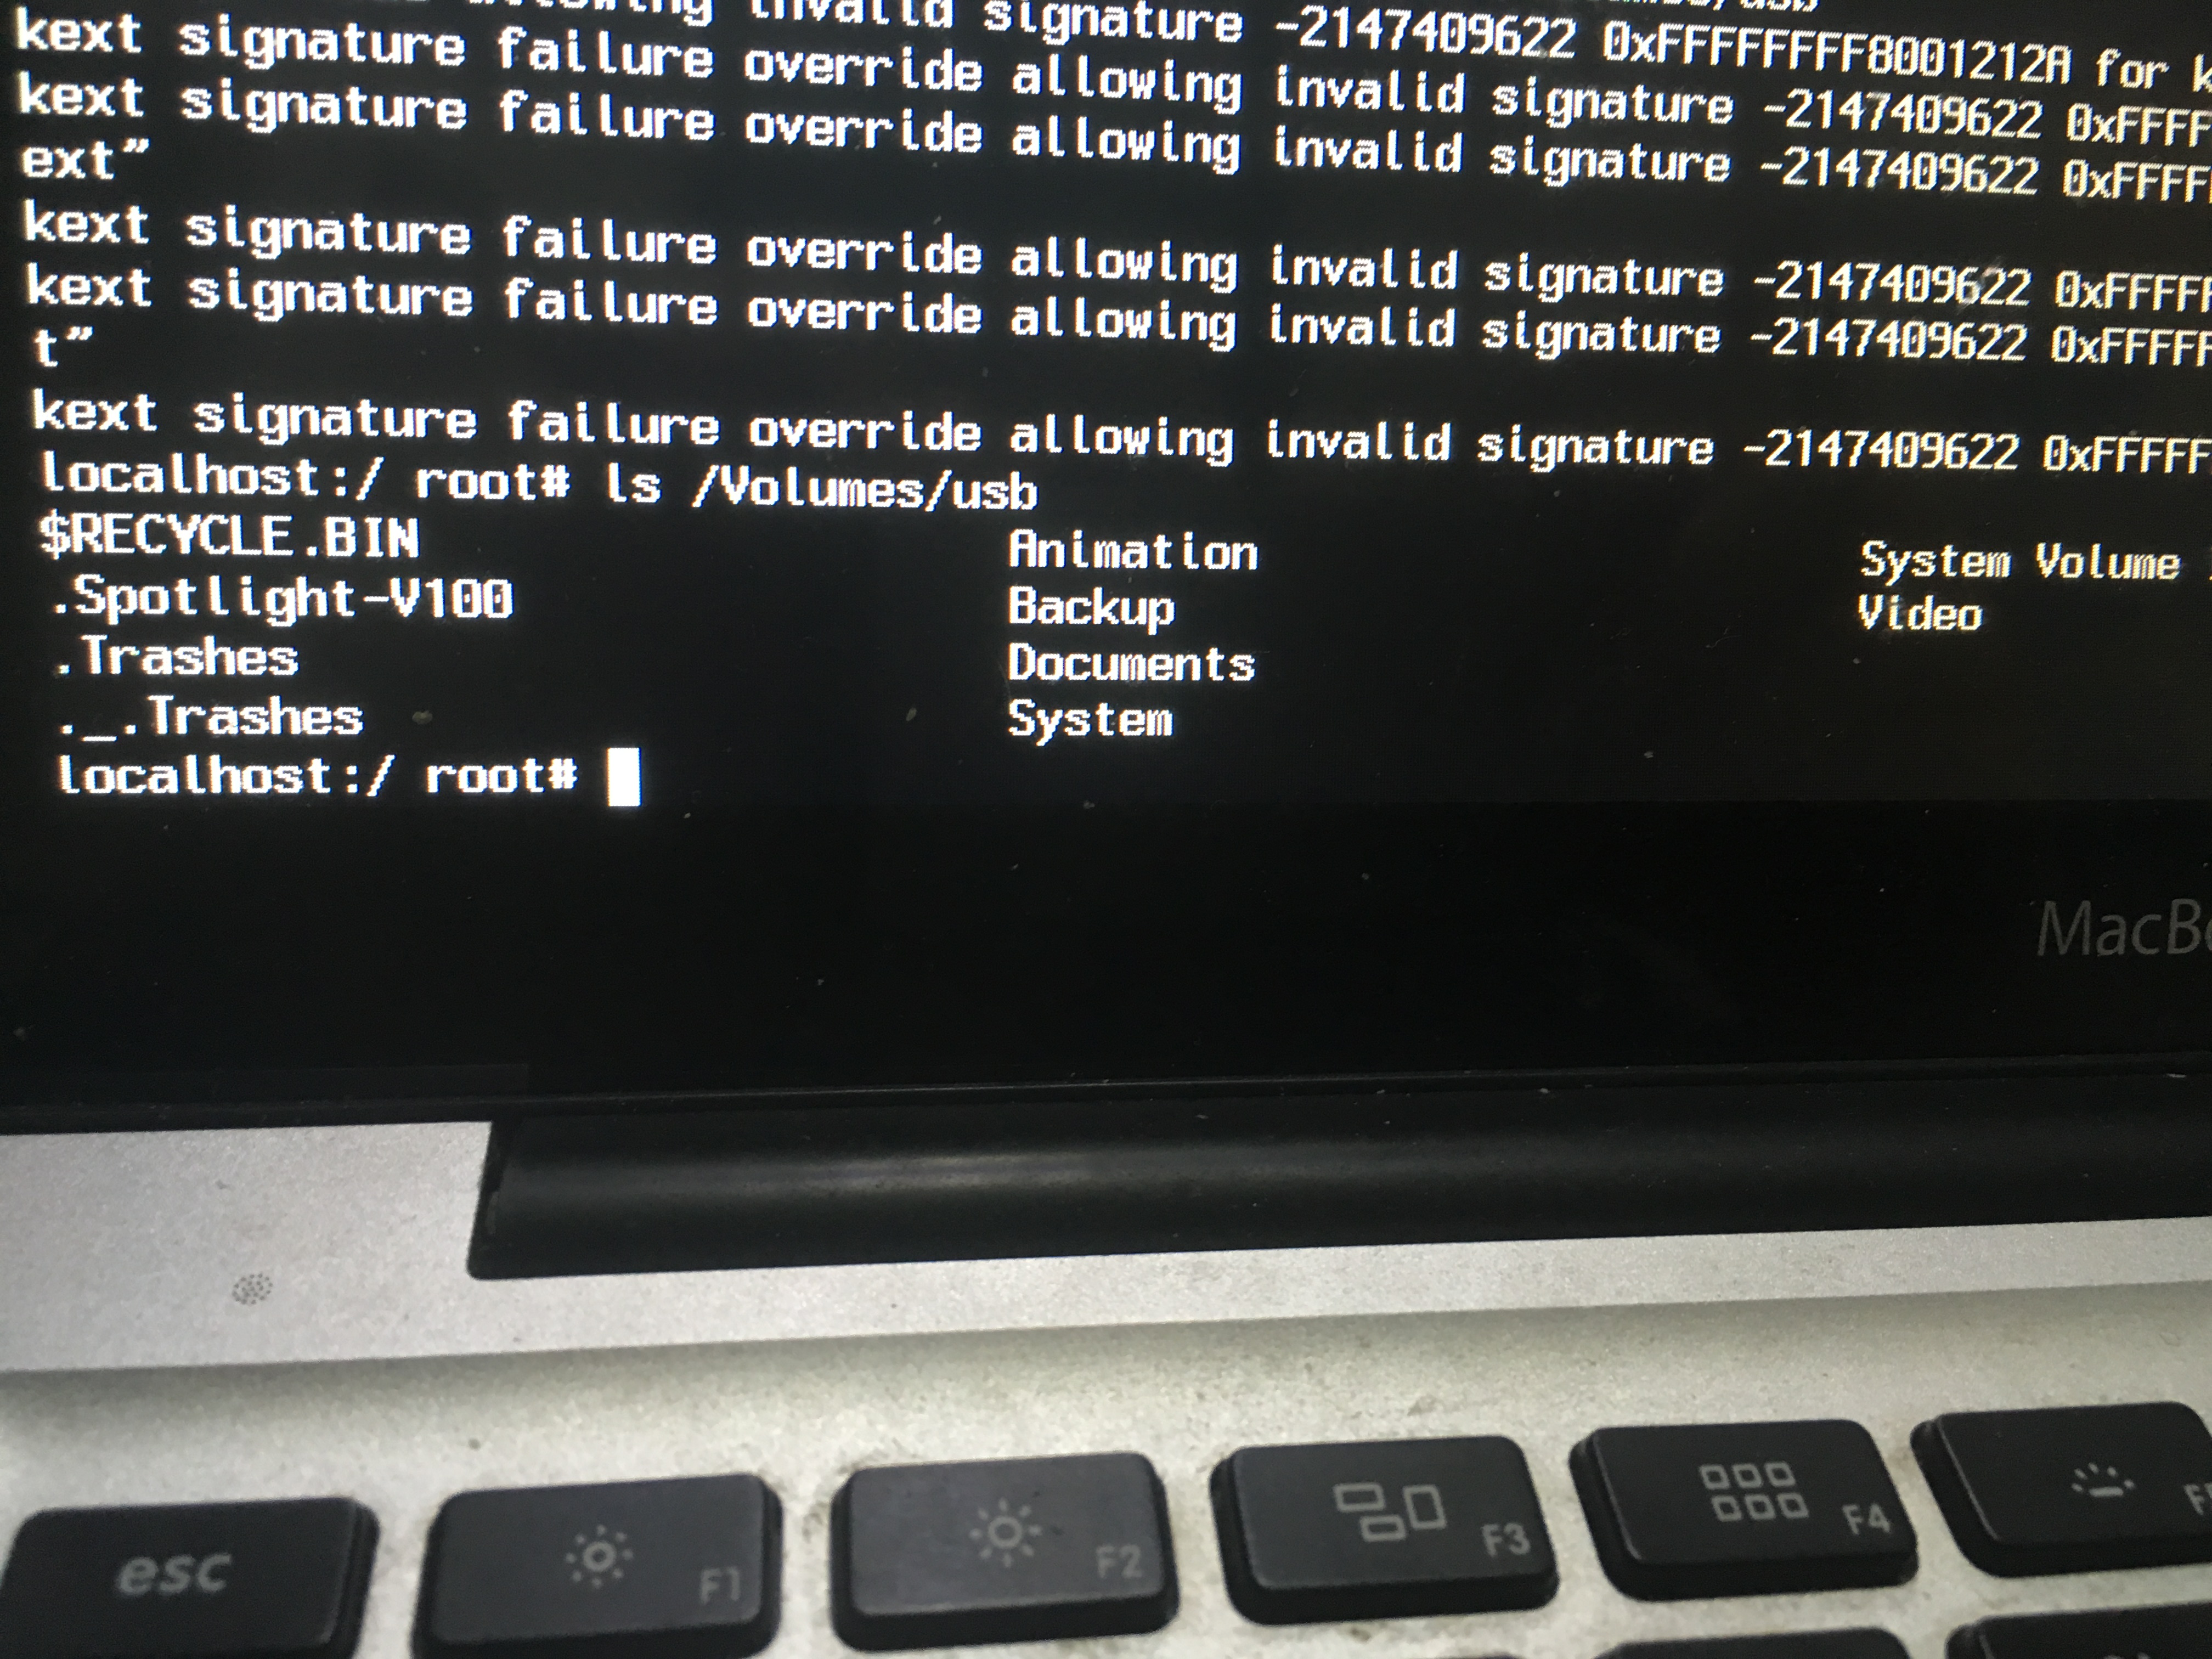
Copy file to your device by using command cp. Eg: cp /User/xxx/Desktop/1.jpg /Volumes/usb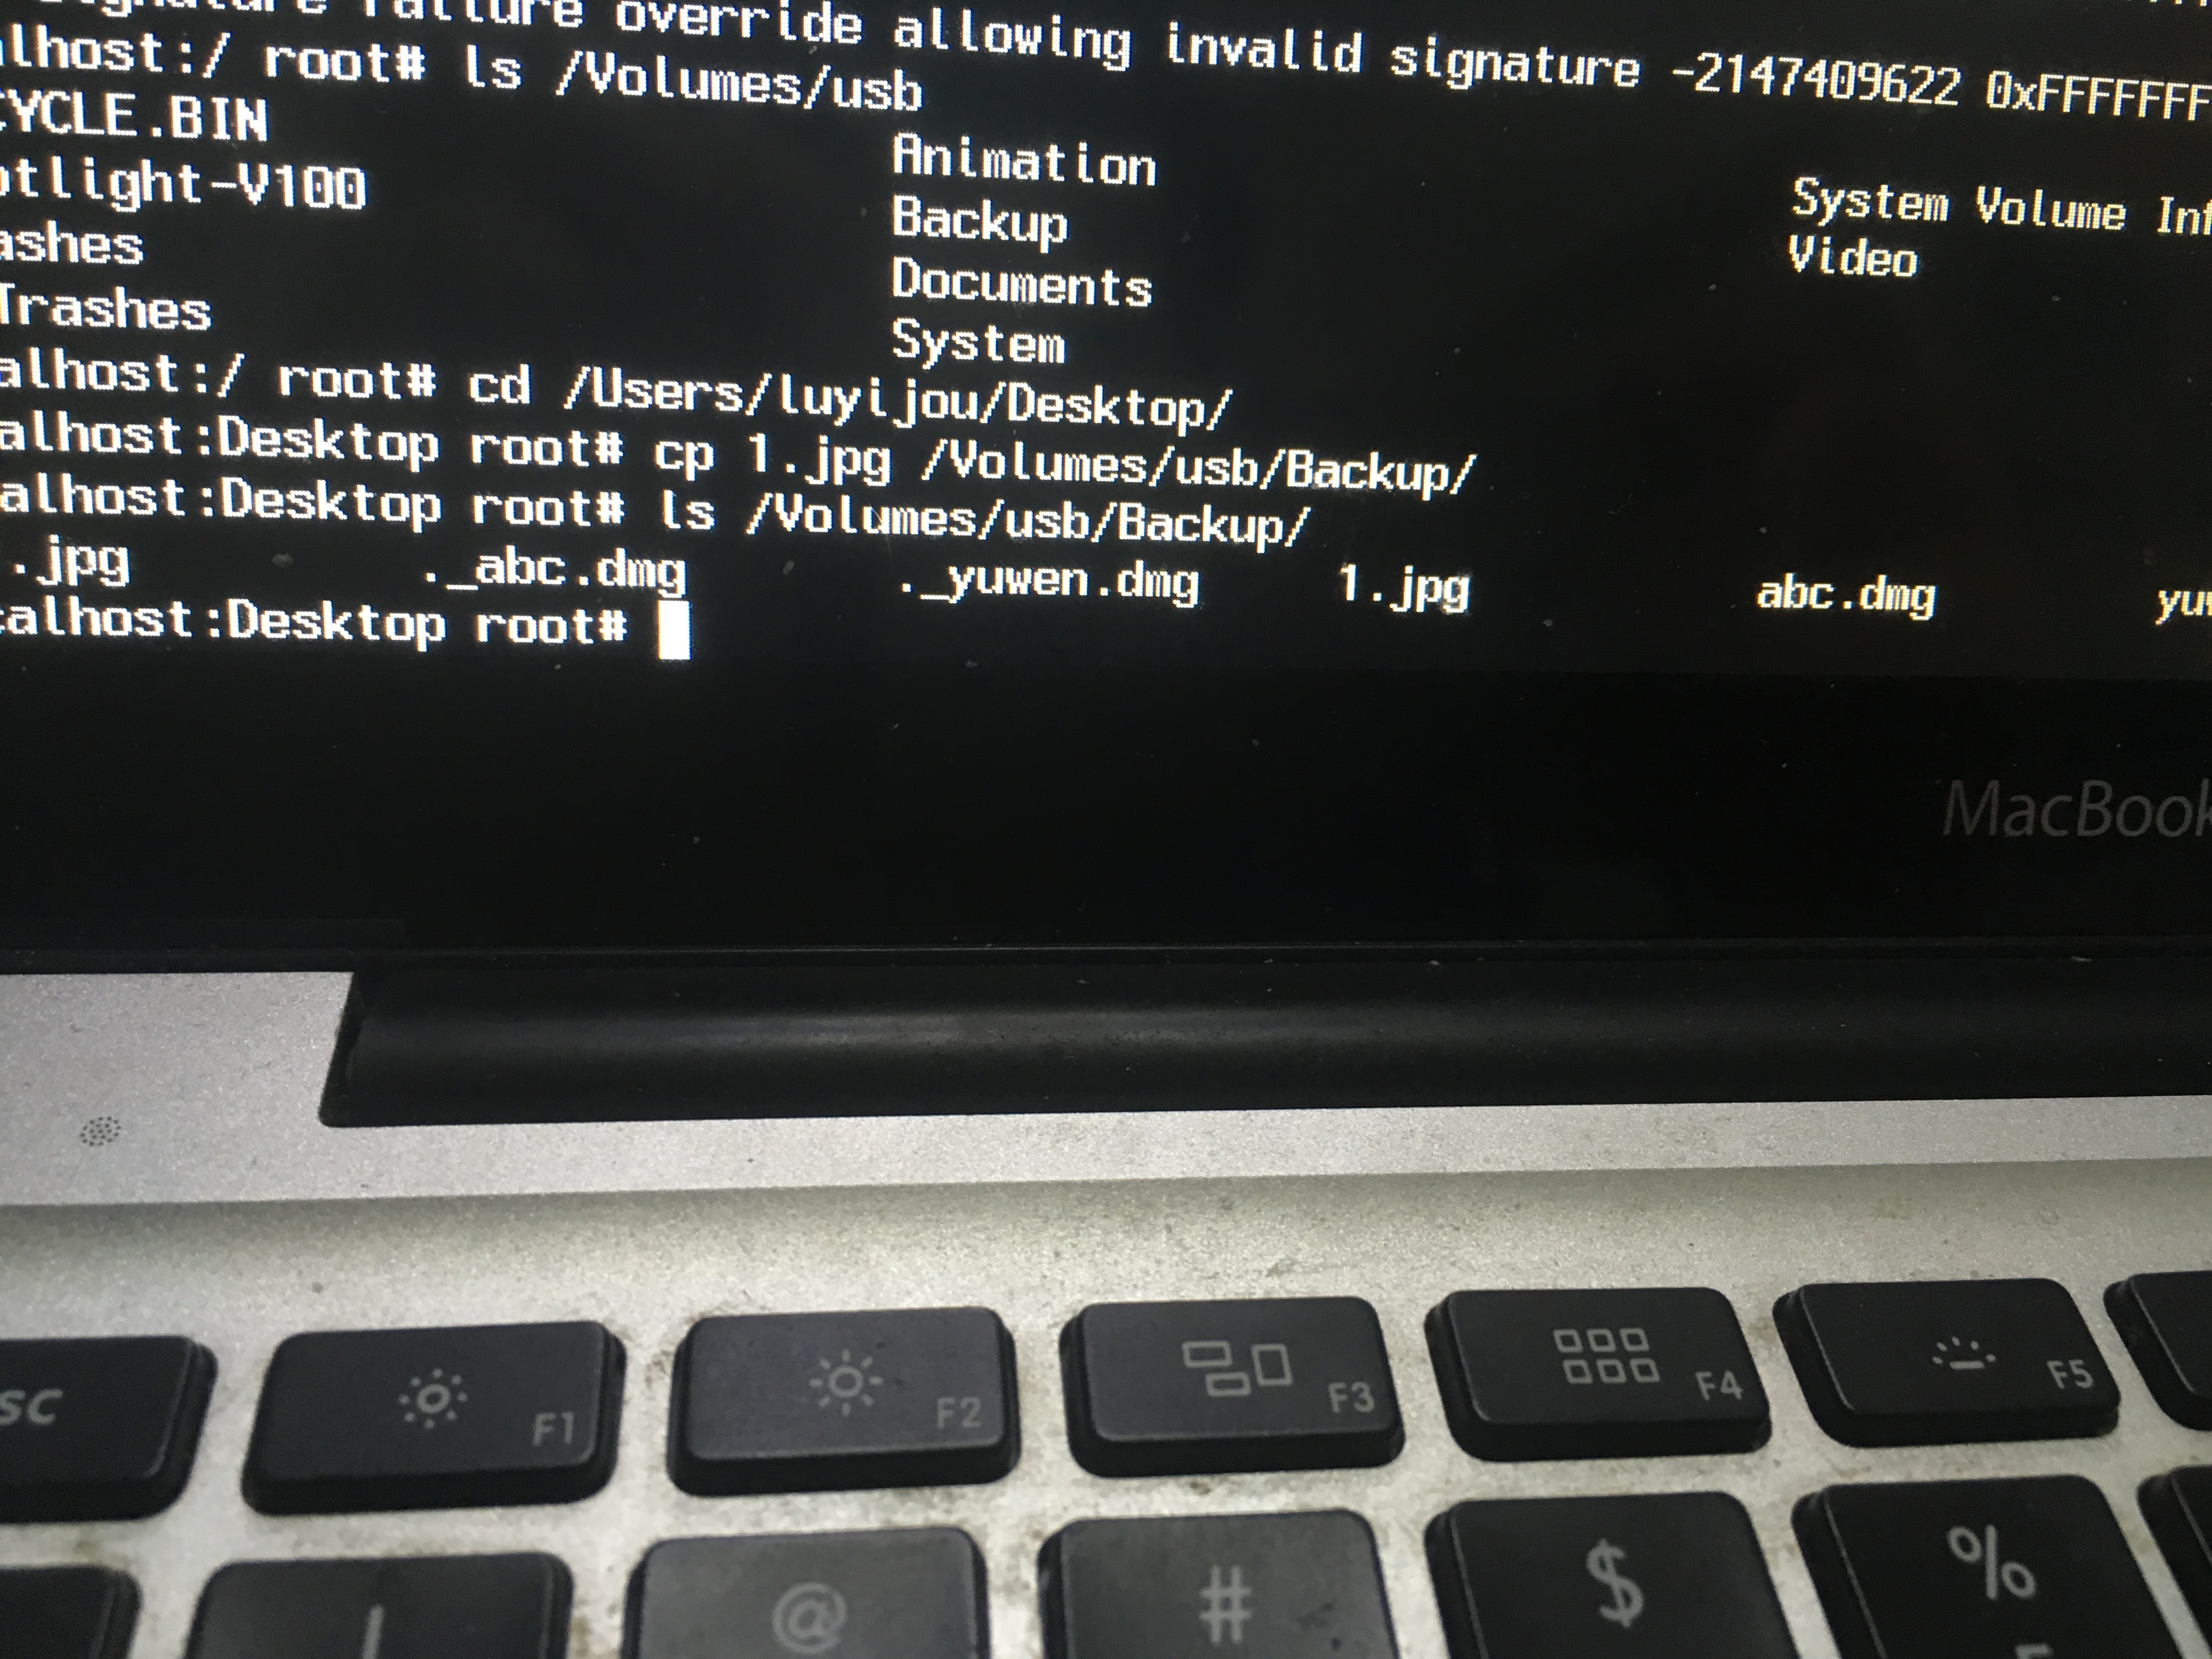
In May 20, 2019. I add a tag system into the blog.
To use the tag, click add article or edit article, in the edit page, you will see a new tag input.
type tags into the input and split them with space
e.g "mysql python" means two tag: mysql and python.
click submit to finish.
problem 1: stuck at "partition disk".
solution:
force quit boot camp
then open disk utility.
click partition, delete all other partition (using the - symbol)that bootcamp made. including: OSXRECOVER and BOOTCAMP.
open bootcamp again and try re-install again.
problem 2: An error occurred while copying the Windows installation files
reason: because bootcamp using a 8g FAT32 disk partition to copy windows file, since FAT32 can not support file larger than 4g. any windows file larger than 4g will cause this problem happen.
solution:
when the number of data excess 5 million. mysql database will face a significant drop down in inserting speed.
(From 50,000 data per second to 50,000 data per minutes xD)
So we can "split" these data into different part by using mysql partition.
for example:

total number of data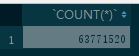
change table to partition (the table can not have foreign key)
alter table songrecogn.fingerprints partition by range columns(id)
( PARTITION p0 VALUES LESS THAN (5000000),
  PARTITION p1 VALUES LESS THAN (10000000) ,
  PARTITION p2 VALUES LESS THAN (15000000) ,
  PARTITION p3 VALUES LESS THAN (20000000) ,
  PARTITION p4 VALUES LESS THAN (25000000) ,
  PARTITION p5 VALUES LESS THAN (30000000) ,
  PARTITION p6 VALUES LESS THAN (35000000) ,
  PARTITION p7 VALUES LESS THAN (40000000) ,
  PARTITION p8 VALUES LESS THAN (45000000) ,
  PARTITION p9 VALUES LESS THAN (50000000) ,
  PARTITION p10 VALUES LESS THAN (55000000) ,
  PARTITION p11 VALUES LESS THAN (60000000) ,
  PARTITION p12 VALUES LESS THAN (65000000) ,
  PARTITION p13 VALUES LESS THAN (70000000) ,
  PARTITION p14 VALUES LESS THAN (75000000),
  PARTITION p15 VALUES LESS THAN (80000000),
  PARTITION p16 VALUES LESS THAN (85000000),
  PARTITION p17 VALUES LESS THAN (90000000),
  PARTITION p18 VALUES LESS THAN (95000000),
  PARTITION p19 VALUES LESS THAN (100000000)
);
result: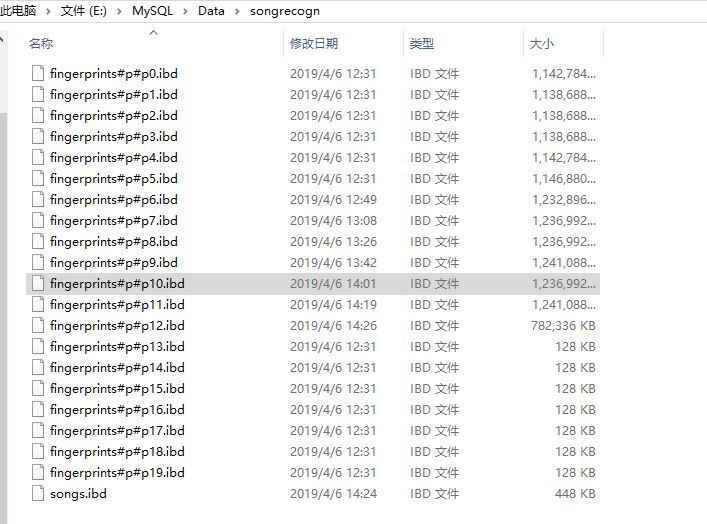
The inserting speed remains in 50,000 per seconds.

extra info:
# add partition
ALTER TABLE fingerprints ADD PARTITION(
 PARTITION p2- VALUES LESS THAN (150000000)
);

# remove partition (data not lost)
alter table fingerprints remove partitioning

# remove partition (data lost)
alter table fingerprints drop partition p20
When I was adding all my song to the data base yesterday, I always found memory error after several song was processed.
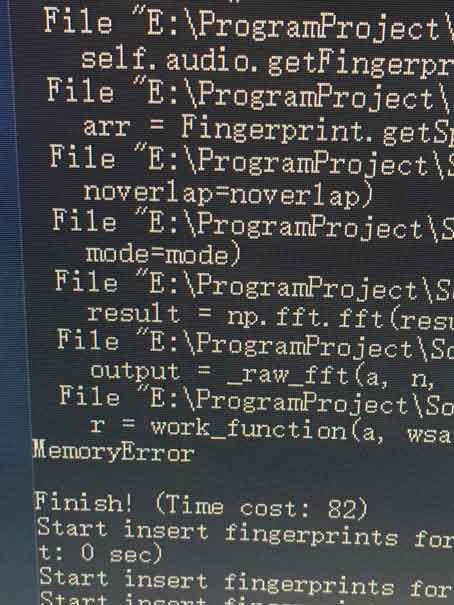
after checking the task manager, i found i got memory overflow when processing the song.
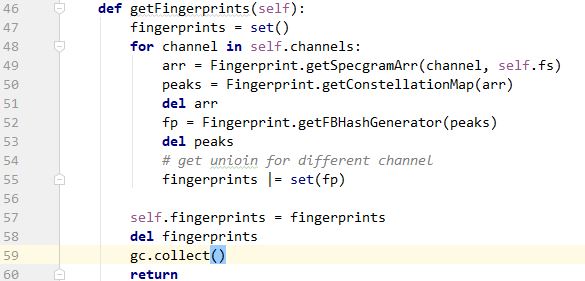
After doing some research, i come up with a solution.
By using del and gc.collect() after finish using a varible that takes lots of memory, the problem is successfully solved.

# using add()
for d in data:
    fingerprint0 = tbModel(id=d)
    session.add(fingerprint0)
session.commit()

# using bulk_save_objects
dbs.bulk_save_objects([tbModel(id = d) for d in data])
dbs.commit()


# using bulk_insert_mappings
session.bulk_insert_mappings(tbModel,[{"id": d,} for d in data])


# using core
def run(self):
session.execute(tbModel.__table__.insert(),[{"id": d, } for d in data])
session.commit()
in these four way, the speed
core > bulk_insert_mappings > bulk_save_objects >>>>> add()
add is slower than others for almost 10 times
Just not use add when inserting large amount of data.